
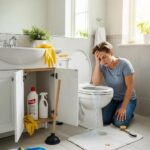
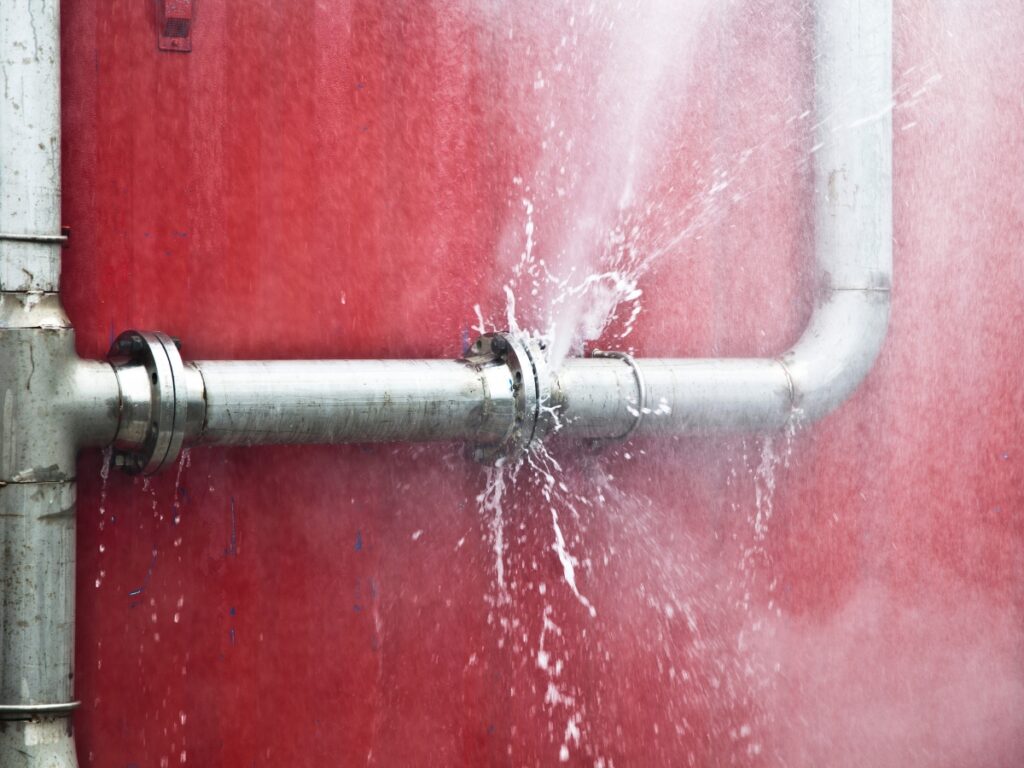
Discovering frozen burst pipes due to freezing is a homeowner’s urgent emergency, requiring immediate action to prevent extensive water damage and costly repairs. While the situation can be alarming, knowing the precise steps to take in those first critical minutes can minimize destruction to your property.
In this guide, we’ll walk you through the immediate actions you must take—from shutting off the water supply and safely managing electricity to mitigating water spread and calling for professional help—so you can respond effectively and protect your home when every second counts.
Frozen Burst Pipes and What to Do Before Damage Spreads
What Are the First Steps to Take When a Pipe Bursts?

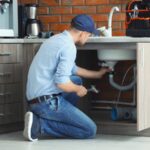
A burst pipe is an emergency that needs calm, fast action. The goal is simple: stop the water, protect people and belongings, and document what happened. As part of smart New Year cleaning habits, it helps to know this process before you ever need it. As soon as you notice a burst, head for the main water shut-off and turn it off to stop new water from entering the system. Once the main is closed, open several cold faucets in the house to relieve pressure in the lines so the break does not get worse.
Next, focus on safety. Turn off electricity to any room where water is on the floor, seeping into outlets, or near power strips and electronics. Move furniture, rugs, and valuables out of the wet area and use towels, mops, and buckets to slow the spread. Take clear photos or short videos of the damage and note the time and date. This record will be helpful later for insurance and for any professionals who come in to repair and dry the space. Handling these first steps quickly limits both structural damage and the size of the cleanup.
How Do You Shut Off Your Main Water Supply Quickly And Safely?
Closing the main water valve is the single most important move after a burst. In many Northwest Georgia homes, the main shut-off is located in a basement, crawl space, utility room, or near the water heater. In some properties, it may be in an exterior box near the meter at the street. Once you find the valve, turn the wheel or lever clockwise until it stops. If it is stiff or slightly corroded, move it slowly and steadily rather than forcing it. Forcing a stuck valve can damage the fitting and turn one problem into several.
After you have closed the main, open the sinks and tubs on the lowest level of the home to let water drain from the lines. You should hear the flow slow and then stop. This pressure release makes it safer for a plumber to inspect or cut into the line and reduces the chance that a temporary repair will fail. As part of your New Year cleaning habits, it is worth locating and testing this valve during a calm weekend so everyone in the household knows where it is and how it works.
What Are The Best Ways To Contain Water Leaks Before Help Arrives?
Once the water is shut off and the area is safe, your focus shifts to containment. Containment does not fix the pipe, but it buys valuable time and protects floors, drywall, and belongings. For overhead or wall leaks, place buckets or plastic bins under the drip and line the surrounding area with towels to catch splashes and prevent water from spreading. Move soft furnishings, cardboard boxes, and area rugs away from the wet zone so they do not wick moisture and become harder to dry.
If you can see the damaged section of pipe and it is still seeping, there are a few temporary options that may slow the leak until a professional arrives. For very small pinhole leaks or hairline cracks, plumber’s tape or a rubber patch held in place with a hose clamp can reduce the flow once the line has been drained. For slightly larger splits, a purpose-made pipe clamp can provide firmer control. Epoxy putty or patch kits can help if the surface is dry enough for the material to bond, but they still remain a short-term measure. None of these should be treated as a permanent repair, and they should never be used on a line that is still under full pressure.
Throughout this process, continue to document what you see and what you do. Note where the pipe failed, how far the water traveled, and any visible staining or swelling in ceilings, walls, and floors. That information will help your plumber diagnose the cause and guide any drying or restoration work that follows. When combined with routine inspections and cleaning, knowing how to respond to a burst pipe can significantly reduce damage, cost, and stress.
How Can You Identify and Thaw Frozen Pipes Safely?

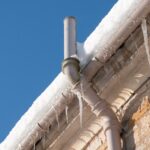
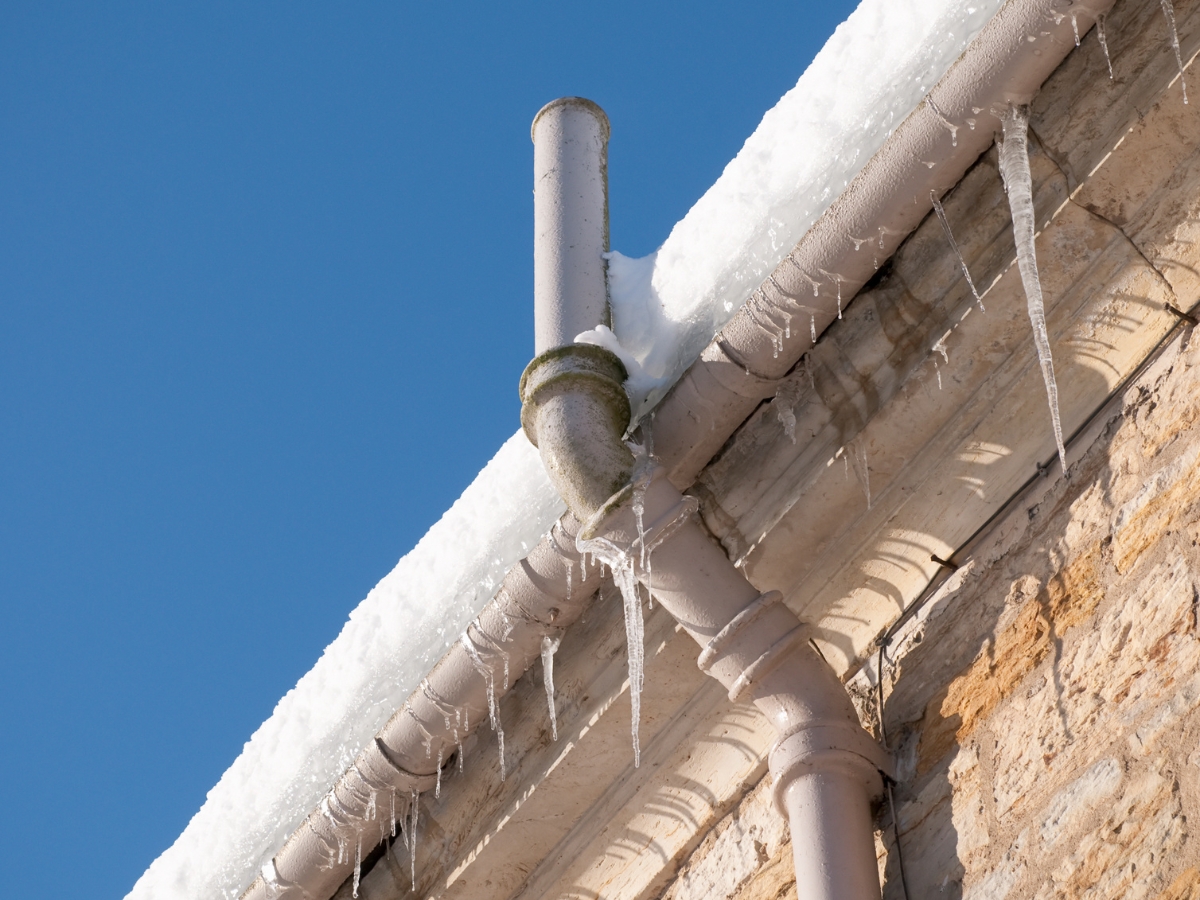
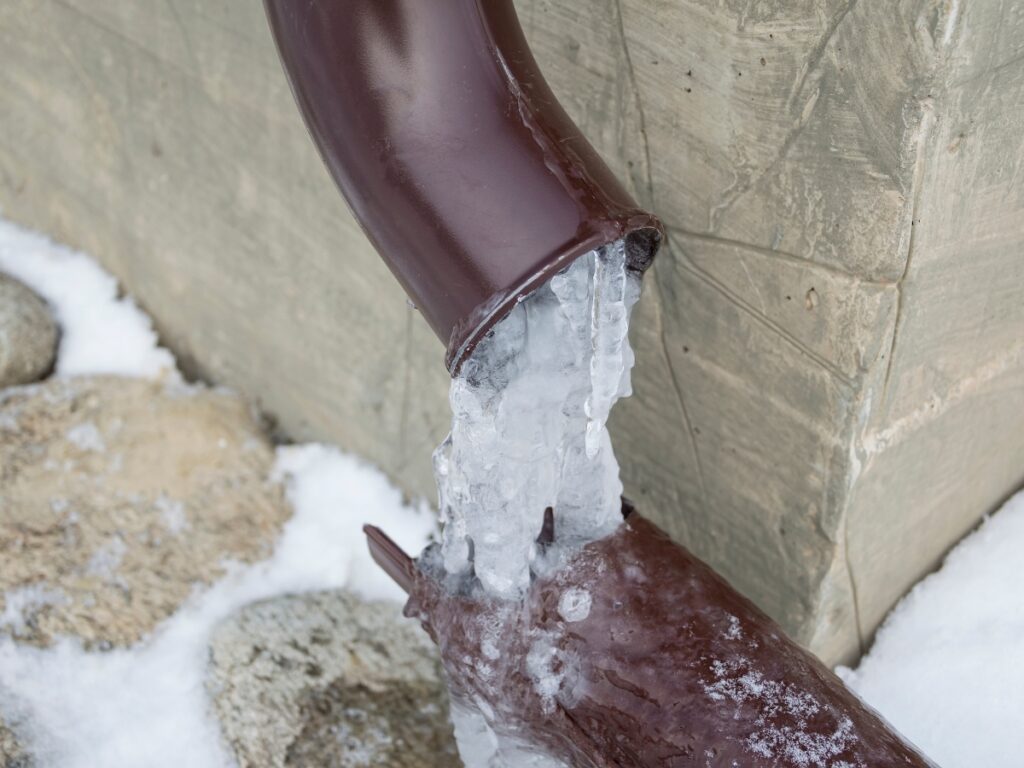
Catching a frozen pipe early is the best way to avoid dealing with frozen burst pipes and major water damage. When water inside a pipe freezes, it expands and presses against the pipe walls, which can eventually cause a rupture. The first clue is often a change in water flow. If you turn on a faucet and only get a trickle or nothing at all while other fixtures still work normally, you may be dealing with a localized freeze somewhere along that line. You might also notice frost or a thin layer of ice on exposed pipes in basements, crawl spaces, garages, or under sinks, especially along exterior walls. In some cases, sections of wall or floor that conceal plumbing can feel unusually cold to the touch compared to nearby areas.
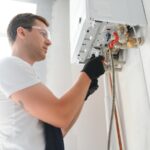
Once you suspect a pipe is frozen, the priority is to warm it gradually and safely. Avoid any rapid, intense heat that could weaken the pipe or create a fire hazard. Before you start, turn on the affected faucet so that as the ice melts, water has somewhere to go. This helps relieve pressure and lets you hear and see when the line begins to thaw. Work patiently, moving along the pipe rather than concentrating intense heat in a single spot. The goal is a slow, controlled thaw that restores flow without stressing the plumbing.
What Are The Common Signs Of Frozen Pipes In Your Home?
Frozen pipes usually show up first as a sudden change in how one fixture behaves. If you open a cold tap and no water comes out, but other faucets in the house work fine, that points to one section of plumbing that has frozen. In contrast, if there is no water anywhere in the house, the freeze may be closer to the main supply or in an exposed section coming in from outside, which increases the risk of frozen burst pipes if it is not addressed quickly.
Visual and sound clues matter too. Pipes with frost or ice crystals on the outside, especially in unheated areas, are strong indicators that water inside has frozen. You might notice creaking, popping, or knocking sounds as ice forms and expands against the pipe walls. Walls, ceilings, or cabinet backs that feel noticeably colder than surrounding surfaces can also signal hidden plumbing runs that are at risk. When you find an area that seems suspect, keep an eye out for any new damp spots or staining as the weather warms, since that can indicate a split that only becomes obvious once the ice melts.
Which Safe Thawing Methods Should You Use And Which Should You Avoid?
Safe thawing is all about gentle, consistent warmth. A common approach is to use a standard hairdryer on a low or medium setting and move it slowly back and forth along the exposed section of pipe, starting near the faucet and working toward the colder area. Another option is a portable electric space heater placed at a safe distance from walls, pipes, and combustibles, with proper clearance and supervision at all times. UL-listed heat tape or cable designed specifically for plumbing can also be effective when installed and used according to the manufacturer’s instructions.
What you should not use is just as important. Never apply an open flame, such as a blowtorch, lighter, or gas heater, to a pipe. These methods can weaken metal, crack plastic, ignite nearby materials, and significantly increase the risk of fire. Avoid using extremely high heat concentrated in one small area, which can cause the pipe to expand unevenly and fail. If you suspect the pipe may already have split, it is wise to shut off the main water supply before thawing so that once the ice clears, you do not suddenly flood the area.
As you work, monitor the pipe and surrounding surfaces. When water begins to flow again, check carefully for drips, new stains, or damp patches that might reveal a hidden crack. If the frozen section is inaccessible, if you cannot locate the problem, or if you notice any sign of active leakage once things thaw, stop and call a licensed plumber. Combining careful DIY steps with professional support when needed helps you manage frozen pipes safely and reduces the chance that a winter freeze turns into a serious burst and expensive repair.
What Are Effective Ways to Prevent Frozen Pipes in Northwest Georgia Homes?
Protecting your plumbing from winter damage in Northwest Georgia is mostly about keeping heat where it belongs and cold air where it does not. Preventing frozen burst pipes starts with insulation on vulnerable lines, steady indoor temperatures, and sealing gaps that let cold air reach your plumbing. Focus on pipes in crawl spaces, garages, basements, and exterior walls, since these areas cool fastest during a cold snap. Winterize outdoor spigots, disconnect hoses, and close or insulate hose bibs so exposed sections are not left full of water.
Inside the home, keep interior doors open so warm air can circulate around bathrooms, laundry rooms, and under-sink cabinets. On very cold nights, opening cabinet doors under sinks on exterior walls lets household heat reach those pipe runs. When temperatures drop sharply, a controlled drip from selected faucets can help keep water moving, which lowers the chance of a freeze. Taken together, these habits form a practical prevention plan that works with the climate and common construction styles in Northwest Georgia, and they significantly reduce the risk of frozen burst pipes when temperatures dip below freezing.
How Does Pipe Insulation Help Prevent Freezing And What Materials Work Best?
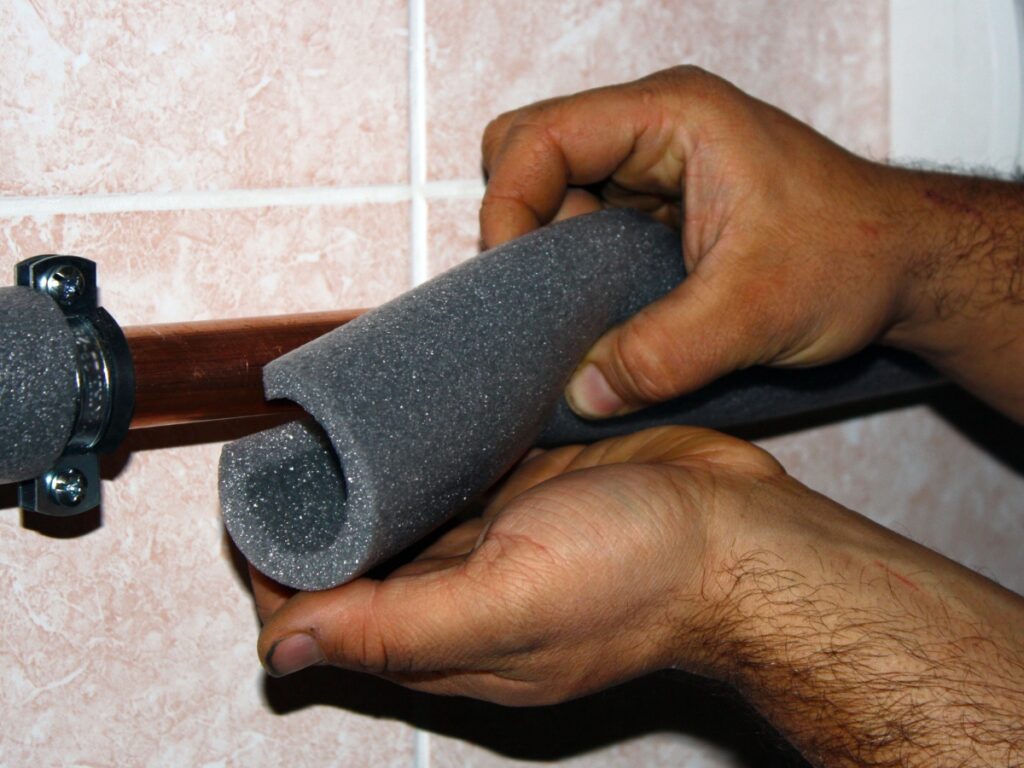
Pipe insulation slows heat loss from the water inside your plumbing, giving the system more time before temperatures fall near freezing. It is especially important in unconditioned spaces such as crawl spaces, unfinished basements, and exterior walls that do not see much household heat. The most common materials are foam sleeves, fiberglass wrap, and electric heat tape, and each works best in different situations.
Foam sleeves are usually the first line of defense. They are inexpensive, widely available, and simple to install on straight pipe runs. You cut them to length, snap them over the pipe, and seal the seams. For pipes with bends, valves, or irregular shapes, fiberglass wrap is often a better fit because it can be wrapped and secured around awkward sections. It offers solid insulating value but takes a bit more time and care to install correctly. Heat tape adds active protection on top of passive insulation. It uses an electric heating element that runs along the pipe to keep temperatures safely above freezing. This is most useful on critical exposed lines, such as pipes in unheated crawl spaces or along exterior walls that have frozen before. In many Northwest Georgia homes, a mix of foam sleeves in easier areas, fiberglass in tight spots, and heat tape on the most vulnerable sections provides a layered defense against frozen burst pipes.
Why Should You Drip Faucets And Seal Air Leaks During Cold Weather?
Even with good insulation, extreme cold can still threaten exposed runs, which is why a slow drip is recommended during the coldest nights. Moving water freezes more slowly than standing water, so allowing a small, steady stream from the most remote faucets helps relieve pressure and keeps water flowing through lines that are at risk. A cold tap on an exterior wall or at the far end of the plumbing system is often the best candidate. You do not need a heavy flow; a thin stream is usually enough to help protect the line.
At the same time, sealing air leaks makes a noticeable difference. Drafts from gaps around sill plates, crawl space doors, attic hatches, and exterior penetrations can drop temperatures quickly around nearby pipes. Using weatherstripping, caulk, or foam to close those gaps reduces cold air movement and helps your insulation work more effectively. Together, air sealing, insulation, and strategic dripping form a three-part strategy that keeps pipe temperatures more stable through winter nights.
Engineering research on exposed piping has shown that the most reliable freeze protection comes from combining good insulation with targeted heat on at-risk runs. In harsh climates, that often means electric heating elements plus insulation and a protective covering. In regions like Northwest Georgia, where hard freezes are less frequent but still possible, thoughtful insulation, air sealing, and smart water use are usually enough to keep systems safe. By putting these measures in place before the coldest part of the season, homeowners can greatly reduce the chances of dealing with frozen burst pipes and the costly repairs that follow.
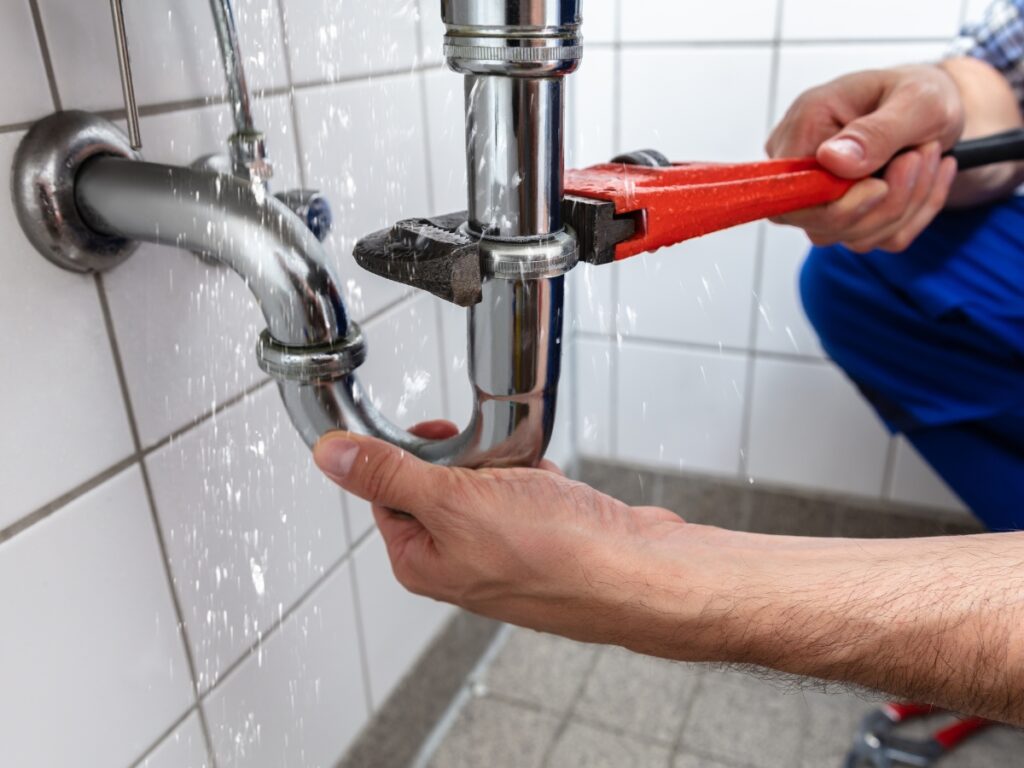
When Should You Call an Emergency Plumber For Burst Pipe Repair?
With frozen burst pipes, the line between a manageable problem and a serious emergency comes down to safety and control. If you cannot fully stop the flow of water, if structural areas are flooding, or if there is any chance that water has reached electrical outlets or appliances, it is time to call an emergency plumber rather than rely on temporary fixes. After you shut off the main water valve, look at how far the water has spread. Standing water in ceilings, walls, or flooring can quickly lead to structural damage and mold, even if the visible leak seems small.
Slow drips that can be contained in a bucket while you monitor the area may qualify as a scheduled repair. In contrast, any situation where a pipe has split, water is still moving through building materials, or you suspect damage behind drywall or under flooring is best handled by a professional. They can locate the full extent of the issue, safely access hidden plumbing, and confirm that the pipe network is stable before the water is turned back on. When in doubt, treat visible damage and active leaks from frozen burst pipes as an emergency and bring in help.
What Makes JW Plumbing Pros a Trusted Choice For Burst Pipe Repairs in Northwest Georgia?
When dealing with frozen burst pipes, homeowners need a team that understands both urgent repairs and the way local homes are built. JW Plumbing Pros serves communities across Northwest Georgia, including Acworth, Austell, Cartersville, Dallas, Hiram, Holly Springs, Kennesaw, Marietta, Powder Springs, and Woodstock. Their work focuses on residential plumbing systems, from general pipe and water line repairs to water heater work, drain cleaning, and toilet repairs, which means they see cold-weather damage and older piping layouts on a regular basis.
Because they are licensed and insured, they can coordinate safely with other trades when damage reaches electrical systems, drywall, or flooring. Clear communication around findings, repair options, and likely timelines helps homeowners make decisions under pressure. They can also provide written documentation of the damage and the repair steps, which is often useful when working with an insurance adjuster. This combination of local familiarity, residential focus, and structured repair process makes them a practical option for Northwest Georgia homeowners trying to restore plumbing and protect the rest of the house after a pipe failure.
How Quickly Can Professional Burst Pipe Repair Services Minimize Water Damage?
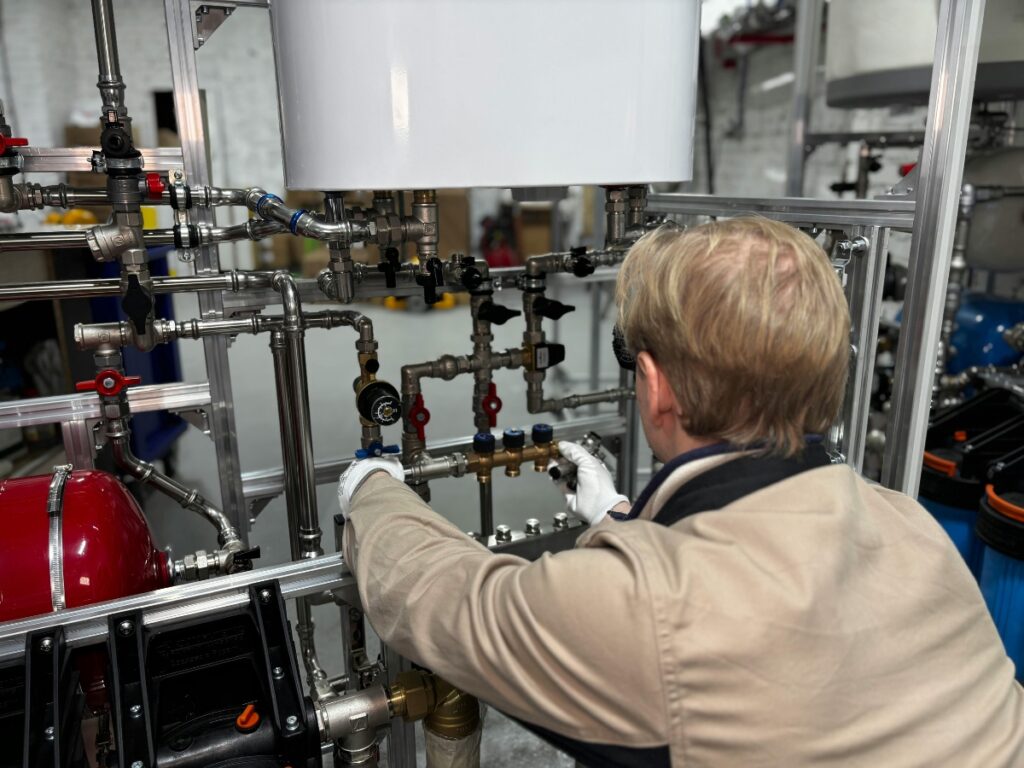
Time is the biggest factor in limiting damage from a burst pipe. Once the water is off and the scene is safe, a professional service will usually move through three stages. First, they assess the system and confirm that the leak source is identified and isolated. Second, they contain and remove standing water, using wet vacs, pumps, and targeted drying so that framing, subflooring, and insulation dry out instead of staying saturated. Third, they repair or replace the damaged section of pipe, then test the system under normal pressure before fixtures are put back into regular use.
The sooner that sequence begins, the more of your finishes and structure can be saved. Fast intervention can turn what might have become a full room reconstruction into a smaller repair that deals with a limited section of wall or ceiling. Early professional involvement also helps establish a clear record of what happened, when it was addressed, and which materials were affected, which can simplify insurance claims later on. For Northwest Georgia homes, treating significant leaks as urgent issues rather than waiting to see if they improve is one of the most effective ways to keep both repair time and costs under control.
What Are The Risks And Consequences Of Ignoring A Burst Pipe Emergency?
With frozen burst pipes, time is the biggest factor in how bad the damage gets. Once a pipe fails, every minute of uncontrolled flow means more water soaking finishes and structure. Within a day or two, even a “slow” leak can saturate drywall, insulation, and subflooring, leading to swelling, staining, and rot that require full replacement rather than spot repairs. A larger rupture can spread water through multiple rooms, travel inside wall cavities, and even reach load-bearing framing if it is not contained quickly.
Ignoring the problem also raises safety risks. Water that migrates toward outlets, power strips, or appliances increases the chance of electrical shorts or shock. As materials stay wet, the odds of mold growth jump, especially in carpet, pad, drywall, and other porous surfaces. From a financial standpoint, delays typically mean higher repair costs, more demolition, and a longer disruption to normal life. Insurers may also scrutinize claims more closely if there is evidence that the damage was left unaddressed for an extended period.
Acting quickly when you suspect frozen burst pipes by shutting off the main valve, starting basic cleanup, and arranging repairs limits structural damage, lowers the risk of mold, and keeps restoration costs closer to a manageable level.
How Much Water Can A Burst Pipe Release And What Damage Can It Cause?
The amount of water released from a failed line depends on pipe size, household pressure, and how long it runs, but it adds up fast. A small pinhole leak can still release several gallons per day, enough to soak a section of drywall or flooring over time. A fully failed supply line can send hundreds of gallons per hour into a room until the main is shut off. That volume does not just sit on the surface. It seeps through seams, under baseboards, and into cavities where it is harder to see and harder to dry.
In a home affected by frozen burst pipes, you might first notice wet carpet or buckling wood floors. Within hours, moisture can reach the subfloor. Drywall begins to soften and crumble, paint can blister, and trim may swell and separate from walls. If water runs through ceilings, you can see sagging, staining, and in severe cases, partial collapse. Left unresolved, framing and substructure can be compromised, turning what could have been a localized plumbing repair and limited replacement into a larger restoration project.
Prompt shut-off, extraction, and drying keep water from spreading, reduce how much material must be removed, and help preserve flooring, cabinetry, and built-ins that would otherwise need to be replaced.
What Are The Potential Health Hazards Like Mold After Water Damage?
After a burst, the visible water is only part of the problem. Mold is a major concern once porous materials stay damp. Under typical indoor conditions, mold growth can begin on wet drywall, paper backing, carpet, and insulation within 24 to 48 hours. Spores thrive in dark, enclosed spaces such as wall cavities and under flooring, which makes early drying and dehumidification especially important after frozen burst pipes.
Health effects vary, but many people experience nasal congestion, throat irritation, coughing, and eye irritation when exposed to elevated mold levels. Those with asthma, allergies, or other respiratory conditions may notice more frequent or more severe symptoms. If water damage is not addressed properly, mold can become a chronic indoor air quality issue, even after surfaces look dry on the outside.
Limiting these hazards means removing standing water quickly, using dehumidifiers and fans to dry affected areas, and discarding materials that cannot be fully dried, such as saturated carpet pad or badly damaged drywall. When there is widespread growth or a musty odor that does not resolve, a professional assessment and remediation plan are usually the safest path. Taking these steps early protects both the structure and the long-term health of the people living in the home.
What Should You Do After Emergency Repairs To Restore Your Home Safely?
Once the immediate repair is complete and the water is under control, your focus shifts to drying, documentation, and prevention. Frozen burst pipes can leave moisture in places you cannot see, so it is important to treat this as both a plumbing problem and a home restoration project. Start by walking each affected area and noting what was damaged: flooring, walls, trim, furniture, and personal belongings. Take your time with this step, because a clear record will help with insurance, future repairs, and any follow-up work you decide to schedule.
From there, prioritize thorough drying. Standing water should be extracted as quickly as possible, followed by several days of high-powered fans and dehumidifiers. Porous materials that were heavily saturated, such as carpet padding or sections of drywall, often need to be removed rather than spot dried. The goal is not just to make things look dry on the surface, but to bring hidden cavities and subfloors back to normal moisture levels so mold does not develop after frozen burst pipes are repaired.
How Can You Document Damage For Insurance Claims Effectively?
Good documentation starts as soon as the scene is safe. Use your phone to take clear, timestamped photos and video of every affected space, including close ups of damaged flooring, baseboards, drywall, cabinetry, and fixtures. Capture wide shots to show how far the water travelled, then zoom in on any areas where materials are warped, stained, or crumbling. If you had to relocate furniture or belongings, photograph those items separately so there is a record of their condition.
At the same time, keep a simple written log. Note when the leak was discovered, when the water was shut off, and which emergency repairs were completed. Save invoices, receipts, and work orders from plumbers, mitigation companies, and any temporary housing or drying equipment you rented. Record contractor names, license numbers, and a short description of the work performed. When you submit a claim, this combination of dates, visuals, and paperwork gives your adjuster a clear timeline and can make the approval process faster and more straightforward.
What Are The Best Practices For Water Damage Cleanup And Mold Prevention?
Effective cleanup begins with removing as much water as possible, as early as possible. Wet vacuums, mops, and professional extraction tools should be used to pull moisture out of flooring and subfloors. Once standing water is gone, run fans and dehumidifiers continuously for several days, paying special attention to corners, closets, and rooms where air circulation is usually poor. Check baseboards and lower wall sections for swelling or softness, which can indicate that materials need to be cut out and replaced rather than dried in place.
Clean hard surfaces with appropriate detergents or disinfectants to remove any residue left behind by the leak. If you have access to a moisture meter, use it to track readings in drywall and wood until they return to normal ranges. When wall cavities, insulation, or structural members have been soaked, it is wise to bring in a water damage or restoration professional to handle targeted drying and to advise on what must be removed for safety. If you notice musty odors or visible mold growth, seek a certified remediation company that follows containment and disposal standards. After your home is dry and repaired, talk with a licensed plumber or contractor about long-term protections such as better pipe insulation, heat tracing on vulnerable lines, or improved shut-off access so any future emergencies are easier to control.
Frequently Asked Questions
What Are The Long-Term Effects Of Ignoring A Burst Pipe?
Leaving a burst pipe unaddressed does more than create a temporary mess. Over time, water can seep into framing, subfloors, and foundations, weakening structure and encouraging rot. Drywall, insulation, and flooring may all need to be removed and replaced instead of simply dried. When frozen burst pipes are left untreated, the damage usually spreads far beyond the original leak.
Moisture that lingers for even 24 to 48 hours can also lead to mold growth. That raises health risks, especially for people with asthma or allergies, and often pushes repair costs higher because professional remediation is required. The longer you wait, the more likely you are to face major reconstruction, higher insurance deductibles, and even temporary relocation while work is completed.
How Can I Tell If My Pipes Are At Risk Of Freezing?
Pipes are most vulnerable in unheated or poorly insulated spaces, such as crawlspaces, attics, exterior walls, and garages. If you know certain rooms feel much colder than the rest of the home, or you can see exposed piping in these areas, those lines are at higher risk. Past problems with frozen burst pipes are also a warning sign that the same spots need better protection.
Pay attention to pressure changes too. Reduced water flow on very cold days, or unusual rattling and knocking sounds in the plumbing, can point to pipes starting to freeze. Cold patches on interior walls or floors where pipes run are another clue. Spotting these signs early gives you time to improve insulation or add other preventive steps before temperatures drop further.
What Should I Do If I Suspect A Pipe Is Frozen?
If a faucet suddenly slows to a trickle or stops, open it slightly to relieve pressure on that line. Then follow the pipe run, if it is accessible, and look for sections that feel very cold or show frost. Use gentle, consistent heat to thaw the area. A hairdryer, heating pad, or electric space heater placed at a safe distance are all better options than an open flame.
Never use a torch or other open flame, as this can damage pipes or start a fire. Warm the pipe gradually and continue to monitor the area for leaks as the ice melts. If you cannot locate the frozen section, or if water does not return after careful thawing, call a licensed plumber. Quick help at this stage can prevent frozen burst pipes from turning into a full rupture.
What Are The Best Materials For Insulating Pipes?
Several materials work well for protecting pipes in cold spots. Foam sleeves are a common choice because they are inexpensive, easy to cut to length, and simple to install on straight runs. For lines that bend frequently or sit in tight corners, fiberglass wrap can fit better, as long as it is installed according to the manufacturer’s directions.
In areas with higher exposure to cold, electric heat tape can add an extra layer of protection by providing controlled warmth along the pipe. It is especially useful for vulnerable exterior walls or crawlspace lines. The right mix often depends on location: foam sleeves for basic coverage, fiberglass for tricky shapes, and heat tape for the most critical sections.
How Can I Prepare My Home For Winter To Prevent Frozen Pipes?
Preparation starts with insulation. Cover exposed pipes in basements, crawlspaces, attics, and garages, and check exterior walls that have shown cold spots in past winters. Seal gaps around doors, windows, hose bibs, and access panels so cold air does not blow directly onto plumbing. Before freezing weather arrives, disconnect garden hoses and use covers or shut-off valves to protect outdoor spigots.
During extreme cold snaps, let at-risk faucets run a very thin stream so water keeps moving through vulnerable lines. Keeping interior doors open and maintaining steady indoor temperatures also helps warm air reach hidden runs. These straightforward steps greatly lower the chance that cold weather will lead to frozen burst pipes.
What Should I Include In My Emergency Plumbing Kit?
An emergency kit should help you act quickly and safely while you arrange professional repair. Include plumber’s tape for small leaks, a few hose clamps, a bucket, and plenty of absorbent towels for catching and controlling water. A flashlight or headlamp makes it easier to inspect dark crawlspaces or basements during a late-night emergency.
It is also smart to keep an adjustable wrench dedicated to your main shut-off valve, along with a utility knife for cutting damaged tape or plastic, and a small electric space heater you can use safely for gentle thawing. Store these items together in an easy-to-reach spot. When every minute counts, having tools ready can limit damage while you wait for a plumber.
Conclusion
A frozen burst pipe can cause severe and costly water damage in a matter of minutes. Acting immediately by shutting off the main water supply and calling a professional plumber is the most critical step to protect your property. At JW Plumbing Pros, our emergency plumbing response team is ready 24/7 to handle burst pipe repairs with speed and expertise, minimizing damage and restoring your peace of mind. Don’t let a burst piperuin your home—call 770-635-5159now for emergency service or fill out our online form for a free quote for planned repairs. Trust the pros who respond when it matters most.