


When your water heater stops producing hot water, fast troubleshooting can help you identify simple, fixable issues—or confirm the need for a professional—before a cold shower disrupts your routine. From checking the pilot light and circuit breaker to testing the heating elements and thermostat settings, several common malfunctions have straightforward diagnostic steps.
This guide provides a clear, step-by-step process for troubleshooting water heaters not heating, helping you restore your hot water supply quickly and safely.
Water Heaters Not Heating? Start With These Checks
What Are The Common Causes Of No Hot Water In Your Water Heater?
When you turn on the tap and the water never warms up, it usually points to a small set of common problems. Most cases come down to temperature control issues, heating problems inside the tank, or a power or fuel interruption. Understanding what typically causes water heaters not heating helps you troubleshoot faster and avoid replacing parts that are not actually the problem.
One frequent culprit is the thermostat. Another is sediment buildup in the tank, which is especially common in areas with harder water. Electric units can also lose power without it being obvious, such as a tripped breaker or a safety shutoff that has activated. While these issues range from simple to more involved, they often have early warning signs, like hot water running out faster than usual or temperature swings from one shower to the next.
How Does A Faulty Thermostat Affect Water Heating?
The thermostat controls when your water heater heats and when it stops. If it is not reading temperature accurately or it has failed, the heater may never receive the signal to turn on. That can look like water that stays lukewarm or completely cold, even after the tank has had plenty of time to heat.
Sometimes the thermostat is not broken but simply set too low. That can happen after a power outage, a reset, or an accidental bump to the dial. Other times, the thermostat sticks and stops communicating with the heating element. When that happens, water heaters not heating can feel random, such as getting one short burst of warm water and then nothing afterward.
If your water heater has two thermostats, which is common on many electric models, one can fail while the other still works. That can lead to warm water at first, then a quick drop to cold once the top portion of the tank is used. This pattern often gets mistaken for “the heater is too small” when it is really a control issue.
Why Does Sediment Buildup Reduce Hot Water Efficiency?
Sediment forms when minerals in the water settle to the bottom of the tank. Over time, that layer gets thicker and interferes with how efficiently heat moves into the water. In electric units, sediment can make the lower heating element work harder or overheat. In gas units, it can create hot spots and reduce the burner’s ability to heat the tank evenly.
The most common symptom is less hot water than you used to get. Another sign is that hot water takes longer to return after use. Some homeowners also notice popping or rumbling sounds, which can happen when water trapped under sediment turns to steam and bubbles up. Even if the heater is still running, sediment buildup can make it feel like water heaters not heating because the temperature is inconsistent and the supply runs out quickly.
Routine flushing can help, but the benefit depends on how long the buildup has been forming. A light layer may clear easily, while heavier sediment can be stubborn and may require additional service to restore performance. Either way, keeping sediment under control supports more stable water temperature and better efficiency over time.
How to Troubleshoot Electric Water Heater No Hot Water Issues?

When an electric water heater stops producing hot water, the problem is usually tied to power, temperature control, or a failed internal part. A careful, step-by-step check can help you narrow it down without guessing. This matters because water heaters not heating can look like a major failure when it is actually something simple, like a tripped breaker or a thermostat that is set too low.
Start with the easiest checks first. Confirm that you actually have power going to the unit, then move to the components inside the access panels. If the heater is getting power but still not warming water, the issue often comes down to a heating element that has burned out or a thermostat that is no longer regulating temperature correctly. Over time, mineral buildup can also shorten the life of these parts, so a unit that has never been serviced may run into problems sooner.
What Steps Identify A Tripped Circuit Breaker Or Power Loss?
Begin at your electrical panel and look for a breaker that is not fully in the on position. Sometimes a tripped breaker sits in the middle instead of flipping all the way off. Turn it off completely, then switch it back on, and give the water heater time to heat. If hot water returns after the reset, you may have found the source of the issue.
If the breaker trips again, treat that as a warning sign. Repeated tripping can point to a short, loose wiring, a failing element, or another electrical fault that should not be ignored. In that situation, continued resets can worsen the problem. The main goal is to confirm whether power loss is causing the water heaters not heating issue, not to force the system to keep running.
It also helps to check nearby outlets or appliances on the same circuit, if applicable, just to confirm you are not dealing with a broader electrical interruption. If your home recently had a power outage or surge, it can also explain why a breaker tripped in the first place.
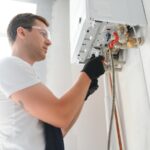
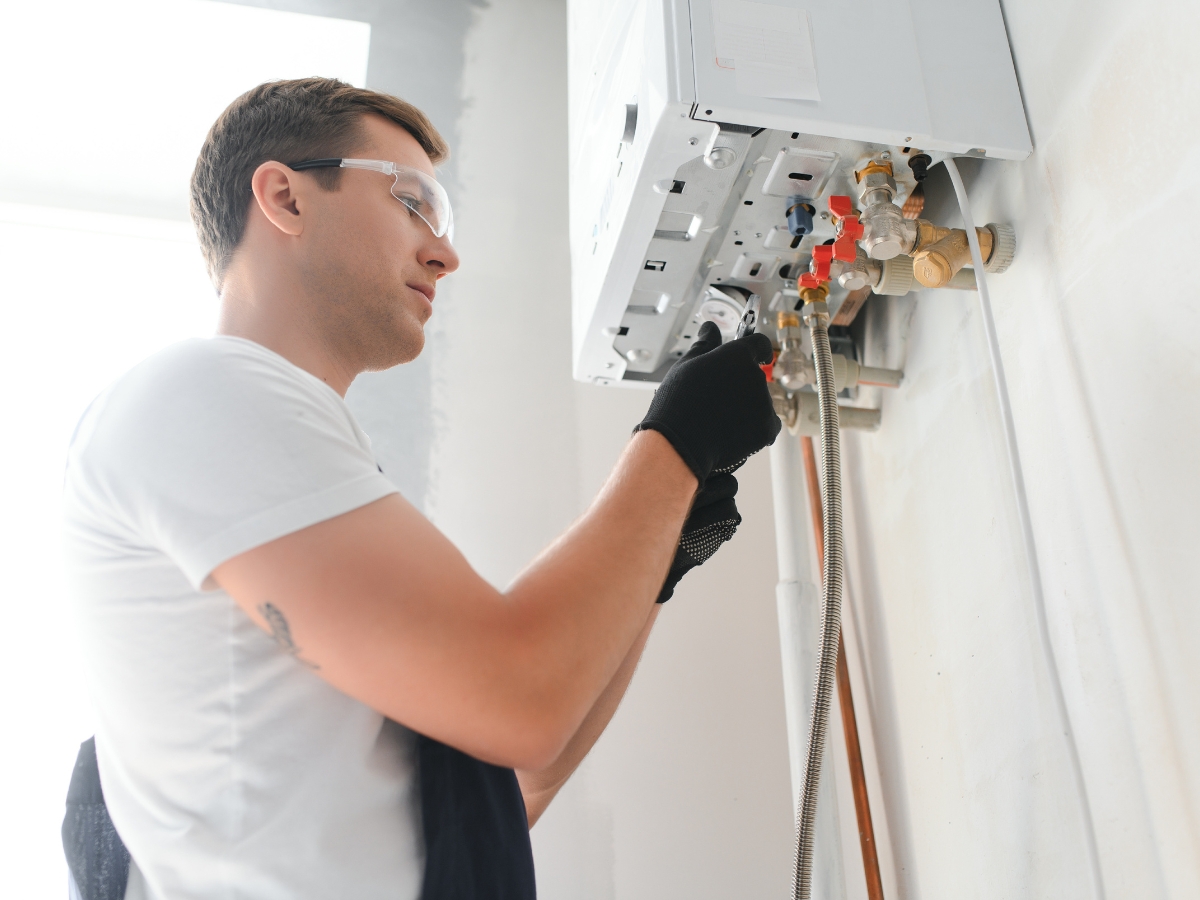
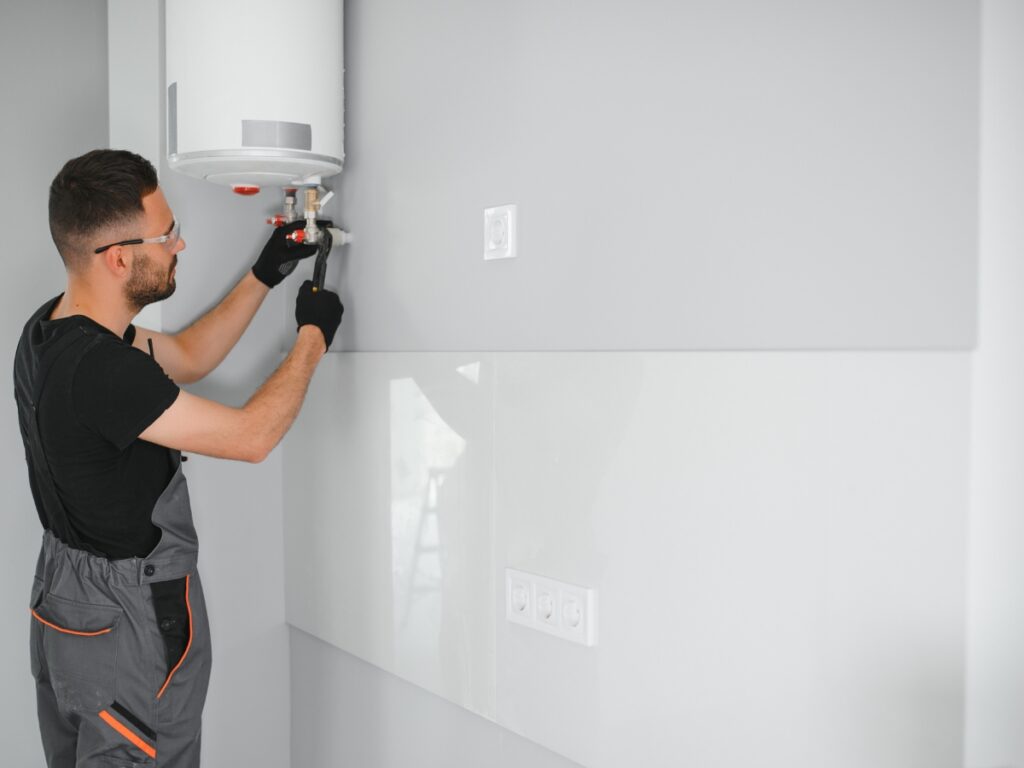
How To Test And Replace Faulty Heating Elements And Thermostats?
Before opening access panels or touching wiring, shut off power at the breaker. Electric water heaters can still carry live current even when they appear to be off, so this step is not optional. Once power is off, remove the access panel and insulation to reach the thermostat and heating element. Many units have an upper and lower thermostat and element, and either one can cause water heaters not heating if it fails.
A multimeter can be used to test for continuity on the heating element. If the element shows no continuity, it is not heating and typically needs replacement. Thermostats can also be tested, but a common real-world clue is inconsistent water temperature or a tank that never seems to reach the set temperature, even though power is present.
If a heating element needs replacement, the tank generally has to be drained below the element level before removal. After installing the new element and restoring wiring, the tank must be fully refilled before power is turned back on. Turning the heater on with an empty or partially filled tank can damage the new element quickly.
If the thermostat appears defective, replacing it with the correct model for your unit can restore stable temperature control. Once repairs are complete, allow enough time for the tank to reheat, then test hot water at a faucet to confirm the fix.
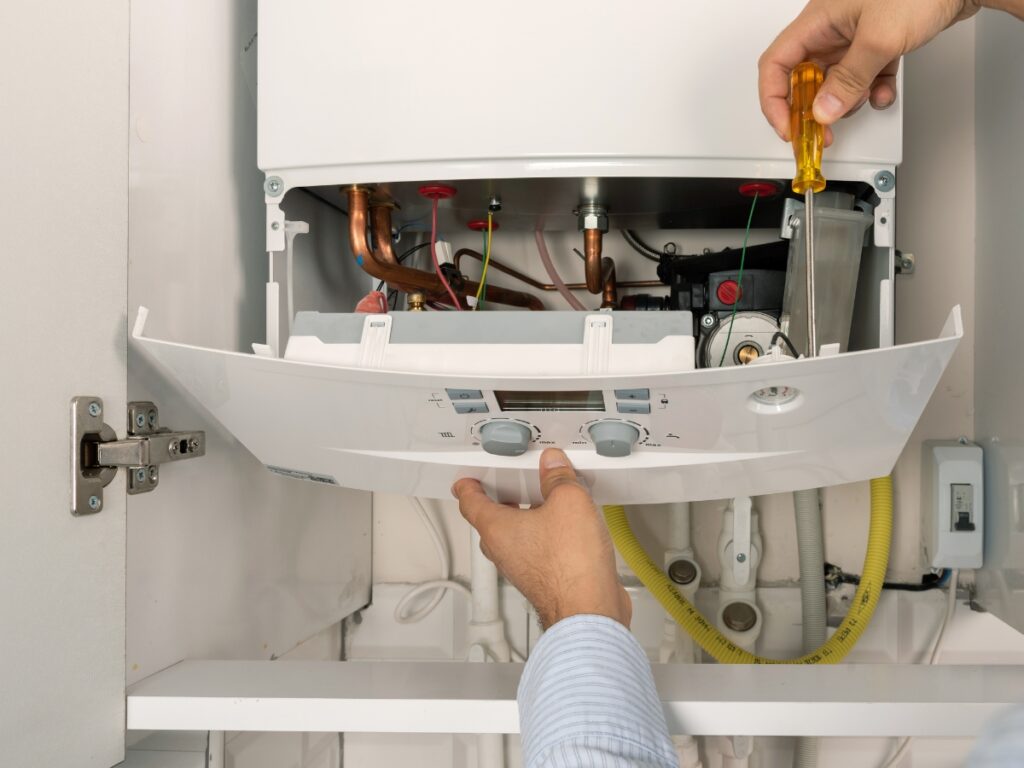
What Are the Key Troubleshooting Steps for Gas Water Heater Pilot Light Problems?

What Are The Key Troubleshooting Steps For Gas Water Heater Pilot Light Problems?
If you have a gas water heater and suddenly lose hot water, the pilot light is one of the first things to check. The pilot is the small flame that helps ignite the burner, so if it goes out, the tank cannot heat water. In many homes, this shows up as water that slowly turns cold over several hours, then never recovers. When water heaters not heating is the issue, pilot and ignition problems are often the simplest explanation.
Start by confirming whether the pilot is lit. Most units have a small viewing window near the bottom. If you do not see a flame, the next step is relighting it the right way and watching what happens afterward. If it lights but will not stay on, the cause is usually a safety component such as the thermocouple, airflow or venting issues, or a problem with the gas control valve. Dirt around the burner assembly can also interfere with ignition and flame stability, especially if the unit is older or located in a dusty utility area.
How To Safely Relight A Gas Water Heater Pilot Light?
Safety comes first any time you are working around gas. If you smell gas, do not try to relight anything. Leave the area and follow your local safety guidance. If there is no gas smell and you are relighting the pilot as part of normal troubleshooting, begin by turning the gas control knob to the off position and waiting at least five minutes. This pause allows any lingering gas to clear before you attempt ignition.
Next, locate the pilot instructions printed on the water heater. Many models require you to turn the knob to pilot, press and hold it down, and then use the built-in igniter button or a long lighter, depending on the design. Keep holding the knob for a short period after the flame lights so the safety sensor has time to recognize it. Once you release the knob, the pilot should stay lit.
After relighting, watch the flame. A steady blue flame is typically a good sign. If the flame is weak, flickering, or yellow, it can indicate dirty components or airflow problems that may lead to repeated shutdowns. If water heaters not heating continues even with a stable pilot, the issue may be with the burner, thermostat controls, or gas supply.
When Does A Thermocouple Or Gas Valve Need Professional Repair?
If the pilot lights but goes out repeatedly, the thermocouple is a common suspect. This safety device senses the pilot flame and signals the gas valve to stay open. When it fails or becomes coated with residue, it may not detect the flame correctly, so the valve closes and shuts the pilot off. Repeated pilot failure is one of the clearer signs that water heaters not heating is being caused by a safety shutoff, not a simple user setting.
Gas valve issues can look similar, but they usually come with additional symptoms, such as the pilot refusing to light at all, the burner not turning on even when the thermostat is calling for heat, or the control knob not behaving normally. Any signs of gas leaks, persistent gas odors, or soot near the burner area should be treated as a stop-now moment. Those are situations where a licensed professional should inspect the unit.
It is also worth noting that venting problems can trigger safety shutdowns. Poor draft, blocked vents, or air intake issues can prevent proper combustion and cause the system to shut down to protect the home. If you have relit the pilot correctly and it still will not stay on, it is usually time to step back and have the system evaluated rather than continuing to restart it.
How Do Water Heater Leaks Impact Hot Water Availability, And What Are Common Leak Sources?
When water heaters not heating becomes a problem, a leak can be both a symptom and a cause. Even a slow drip changes how the system runs because the tank may not stay at the right water level or pressure, and the unit can end up working harder than it should. In some cases, the leak is a warning that a component is failing. In others, it is a sign the tank itself is wearing out. Either way, ignoring it often leads to less hot water, higher utility use, and a greater chance of sudden failure.
Leaks usually come from a few predictable places. The pressure relief valve, also called the temperature and pressure relief valve, is designed to release water if pressure or temperature rises too high. If that valve is faulty or if the system is building excess pressure, it can release water and make it look like the heater is “leaking.” The drain valve near the bottom of the tank can also seep over time, especially if it is not fully closed or the internal seal has degraded. The most serious source is the tank itself. When the tank develops corrosion or a crack, the leak typically worsens and cannot be permanently fixed with a simple adjustment.
What Are Signs Of Leaks From The Pressure Relief Valve Or Drain Valve?
A pressure relief valve leak often shows up as water dripping from a discharge pipe or moisture around the valve area. A small amount of discharge can happen if the unit is relieving pressure, but consistent dripping is not something to brush off. It can point to a valve that no longer seals properly, high water pressure in the home, or overheating that is forcing the valve to open more often than it should. If you are dealing with water heaters not heating at the same time, it is worth paying attention because the same underlying issue, like a thermostat problem, can contribute to both symptoms.
A drain valve leak is usually easier to spot because it tends to drip from the valve itself, close to the base of the tank. You might see a slow but steady drip, mineral crust buildup, or a damp area that never fully dries. Sometimes the valve is simply not shut all the way, but if tightening does not stop it, the seal may be worn. Rust staining around either valve is another clue that the leak has been present longer than it looks.
How Do Tank Leaks Affect Water Heater Performance?
Tank leaks create the biggest performance hit because they involve the main body of the water heater. As water escapes, the system may struggle to keep up with demand, especially during back-to-back showers or heavy household use. The heater is constantly trying to warm incoming replacement water, which can make it feel like the unit is not keeping temperature. That is why homeowners often describe the situation as water heaters not heating, even when the burner or heating elements still work.
A tank leak also raises the risk of sediment shifting and collecting unevenly, which can reduce efficiency. Over time, the unit may cycle more often, run longer, and consume more energy just to deliver the same results. If the leak is caused by corrosion inside the tank, it is typically a sign that the tank has reached the end of its service life. Regular checks for pooling water, dampness at the base, and rust trails can help you catch these issues early, before hot water availability drops further or the leak turns into a full tank failure.
When Should You Call A Professional For Water Heater Repair Or Replacement?
Most homeowners can handle basic checks, but there is a point where DIY stops being helpful and starts becoming risky. If you have already tried simple troubleshooting and you are still dealing with water heaters not heating, it usually means the issue is deeper than a reset or a setting change. At that stage, a professional inspection can prevent repeated breakdowns, reduce the chance of water damage, and confirm whether a repair is actually worth it.
Safety is the biggest reason to bring in a licensed plumber. With gas units, any sign of a gas odor, repeated pilot light failure, or burner issues should be treated as non-negotiable. With electric units, ongoing breaker trips, scorched wiring, or signs of overheating can indicate a serious electrical problem. If there is leaking around the tank or heavy corrosion, it is also a good idea to stop using the unit until it is evaluated. Those issues can get worse quickly, and they often show up alongside water heaters not heating because the system can no longer operate efficiently or safely.
Age matters too. If the water heater is older than ten years and has started needing frequent attention, replacement can be the better long-term decision. Even when an older unit can be repaired, the cost adds up when new issues keep popping up. In many cases, a professional can tell you whether you are dealing with a fixable component like a thermostat or element, or a bigger problem like internal tank deterioration.
What Complex Issues Require Expert Plumbing Services?
Some problems are hard to confirm without the right tools, and they are easy to misdiagnose. A common example is a leak that seems minor but cannot be traced to a valve or fitting. If water keeps appearing near the base of the tank and you cannot identify a clear source, the tank itself may be failing. That is not something you want to guess at, especially if the leak is getting worse.
Electrical issues also fall into the “call a pro” category. If the heater will not stay powered, keeps tripping the breaker, or has inconsistent heating even after basic checks, the wiring, control components, or heating elements may need a proper diagnostic test. Gas line and venting problems are another reason to avoid guesswork. Poor combustion, venting blockages, and gas valve failures can create safety hazards, and they can contribute to water heaters not heating even when the unit appears to be running.
How Does JW Plumbing Pros Provide Fast And Reliable Water Heater Repair In Northwest Georgia?
JW Plumbing Pros supports homeowners dealing with water heaters not heating by diagnosing the root cause and recommending a solution that makes sense for the condition of the unit. That includes identifying whether the issue is a worn heating element, a failing thermostat, sediment-related performance loss, or a gas ignition problem. A solid repair starts with pinpointing the problem, not swapping parts until something works.
They also handle both electric and gas systems, which matters because the troubleshooting and safety considerations are very different between the two. When a water heater is past its prime, they can also help determine whether replacement is the more practical option based on age, performance, and the likelihood of repeat failures. The result is a clearer path forward, whether the fix is straightforward or the unit is ready to be upgraded.
What Preventative Maintenance Tips Ensure Consistent Hot Water and Extend Water Heater Lifespan?
Preventative maintenance is one of the easiest ways to reduce breakdowns and avoid the frustration of water heaters not heating when you need hot water most. A little routine upkeep helps your unit run more efficiently, keeps recovery times steady, and can extend the life of the tank itself. The goal is not to overcomplicate things. It is to focus on the few maintenance habits that prevent the most common problems, like sediment buildup, corrosion, and overheating.
One of the most effective steps is flushing the tank on a consistent schedule. In many homes, minerals in the water settle at the bottom of the tank over time. That layer acts like insulation between the heating source and the water, which makes the heater work harder, raises energy use, and can lead to water heaters not heating as well as they used to. A routine flush helps clear that debris before it becomes a bigger performance issue. Many homeowners do this once or twice a year depending on water hardness and household usage.
Another smart habit is checking the anode rod. This part is designed to corrode first so the tank does not. When the anode rod is heavily worn, the tank becomes the next target, and that is when rust and leaks become more likely. Replacing an anode rod at the right time is often cheaper than dealing with a premature tank failure. If your water has a strong mineral smell, or you notice a change in water color, it can be a sign the anode rod is overdue for inspection.
Temperature settings matter, too. Keeping the thermostat around one hundred twenty degrees helps balance safety and efficiency. Higher settings can increase scald risk and put extra strain on components, especially if sediment is already present. A reasonable set point reduces wear and helps you avoid cycles where the unit overheats, shuts down, or struggles to maintain steady hot water.
It also helps to do a quick visual check every so often. Look for moisture around fittings, signs of corrosion, or slow drips from the relief valve or drain valve. Catching small issues early can prevent bigger problems that leave you with water heaters not heating or, worse, water damage.
How To Flush Sediment And Inspect The Anode Rod Regularly?
To flush sediment, start by shutting off power to an electric unit at the breaker, or switching a gas unit to the pilot setting. Let the water cool if it has been running hot. Then connect a garden hose to the drain valve and run the other end to a safe drainage area. Open a hot water faucet in the home to relieve pressure, then open the drain valve and allow the tank to empty. Once it drains, briefly turn the cold water supply on and off a few times to stir up and push out remaining sediment. When the water runs clear, close the valve, remove the hose, refill the tank fully, and restore power or gas once the tank is full.
For the anode rod, power or gas should remain off. The rod is typically located on the top of the tank under a cap. After removing it, inspect for heavy corrosion or thinning. If it is significantly worn, replace it with a matching rod type. If you are not sure what you are looking at, or the rod is stuck, it is worth having a professional handle it to avoid damaging the tank threads.
Conclusion
While troubleshooting can sometimes resolve a simple issue like a tripped circuit breaker, persistent problems with your water heater often indicate a need for professional repair or replacement. A lack of hot water disrupts your daily routine and can signal underlying issues with heating elements, thermostats, or the tank itself. For fast, reliable service that restores your hot water and peace of mind, trust the licensed technicians at JW Plumbing Pros. Don’t endure another cold shower. Call 770-635-5159 or request a free quote online today for expert diagnosis and repair. We’re here to get your hot water flowing again.