


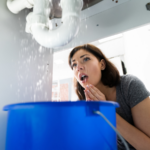
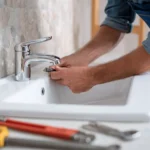

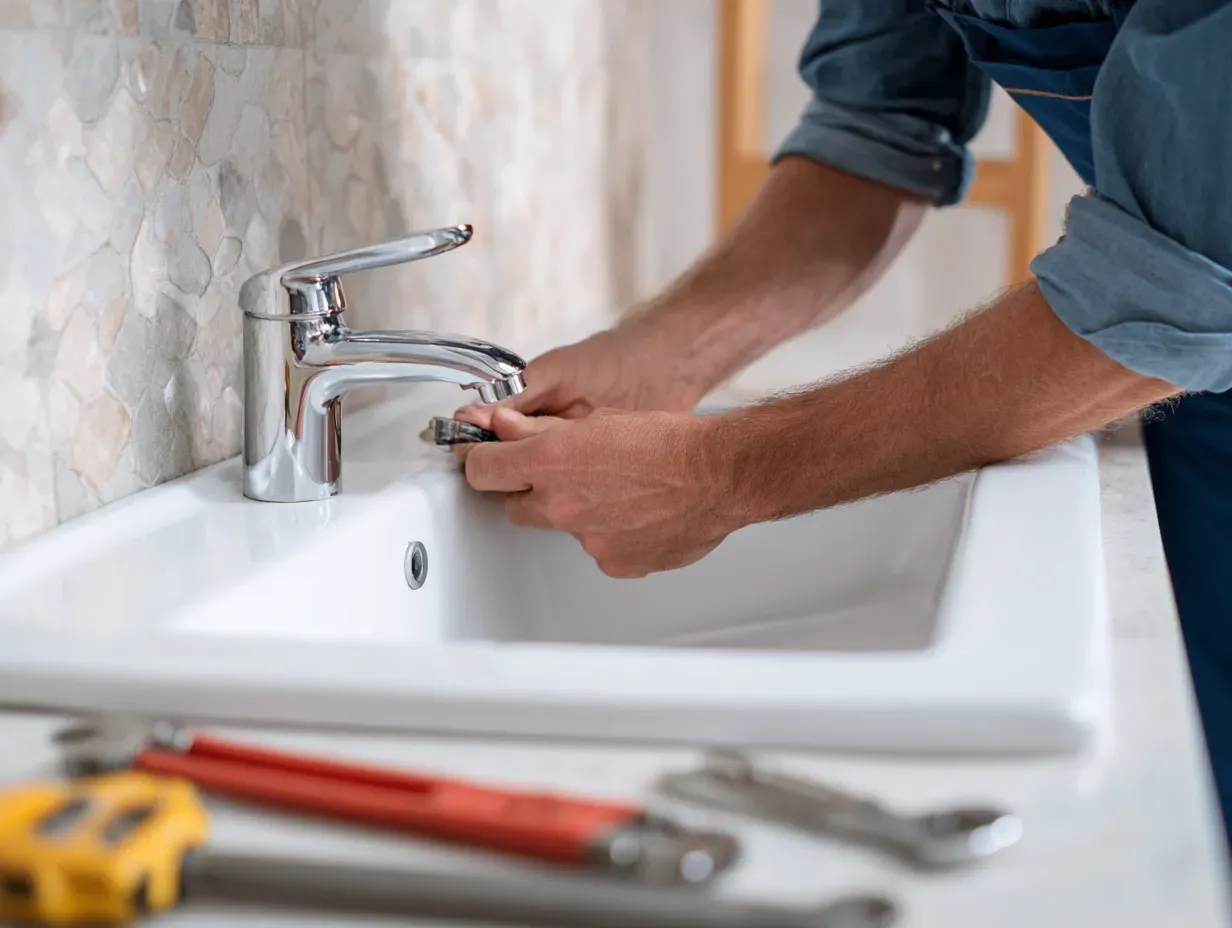
A shower that drains slowly, drips after the water is turned off, or leaves unexplained moisture around the bathroom can signal more than a minor inconvenience.
Small plumbing problems can worsen over time, potentially leading to recurring clogs, water waste, damaged surfaces, or hidden moisture where it does not belong.
Effective shower repair solutions depend on identifying whether the problem originates with the faucet, showerhead, drain, plumbing connections, or pipes behind the wall. While hair buildup and minor blockages may have straightforward fixes, persistent leaks and drainage problems often require a closer inspection.
Knowing the common causes of shower leaks, clogs, and drain problems can help homeowners determine what can be handled safely at home and when professional plumbing repair is the smarter way to prevent further damage.
Shower Repair for Common Leaks and Drainage Issues
What Causes Shower and Tub Leaks?
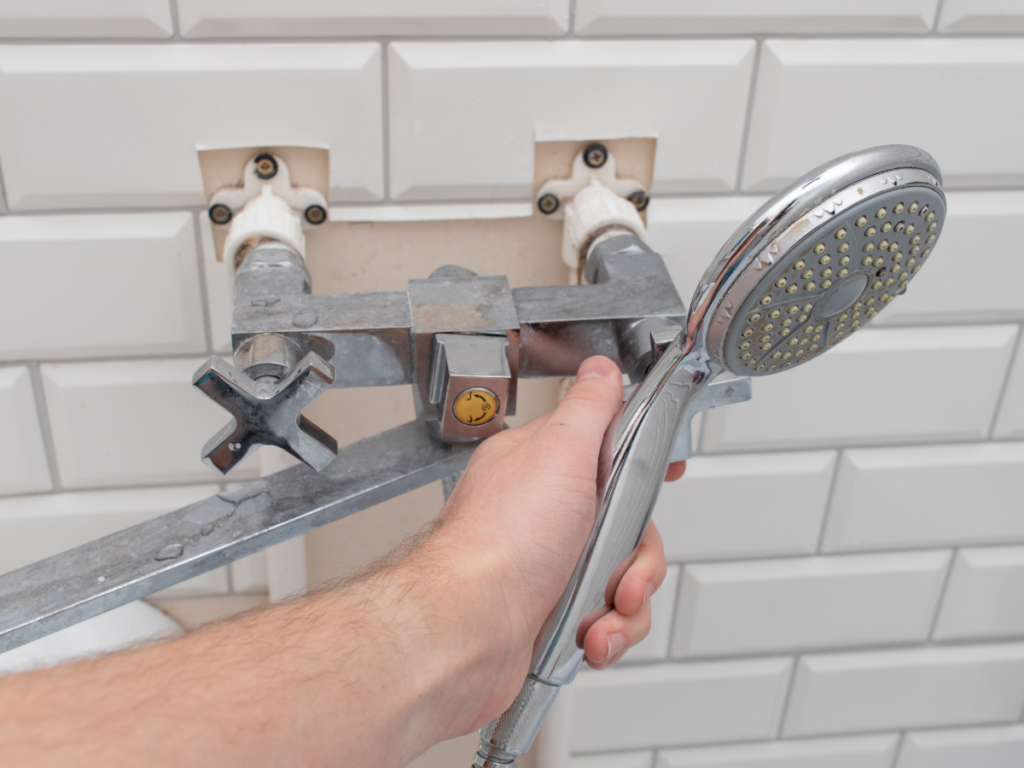
A shower or tub leak is not always as simple as a dripping faucet. Water can escape from the fixture itself, the valve behind the wall, supply connections, the drain assembly, or even gaps around the shower enclosure. Finding the actual source matters because the visible water is not always located directly below the failure.
For homeowners trying to determine whether shower repair is necessary, the timing and location of the leak offer useful clues. A drip that continues when the fixture is turned off points to a different problem than water that appears only while the shower is running.
Worn Cartridges, Washers, and O-Rings Can Cause Persistent Dripping
A faucet or shower valve relies on small internal components to stop water when the handle is turned off. Depending on the fixture design, those parts may include washers, O-rings, cartridges, or valve seats.
They gradually wear from repeated use, mineral buildup, corrosion, and water pressure. Once a seal no longer closes completely, water can continue passing through the fixture.
Typical signs include:
- A showerhead that drips after the water should have stopped
- Water leaking around the faucet or handle
- A tub spout that continues to drip
- A handle that becomes difficult to turn or does not shut off cleanly
Replacing the failed component may solve the problem, but identifying the fixture type is important before buying parts. A cartridge-style valve, for example, is repaired differently from an older compression faucet. Homeowners dealing with a visible drip can use basic faucet leak troubleshooting to narrow down whether a washer, O-ring, cartridge, or valve seat is likely involved.
A Faulty Shower Valve Can Leak Behind the Wall
Some of the more concerning shower leaks are hidden. The mixing valve sits behind the shower wall and controls the flow and temperature of hot and cold water. If the valve body, cartridge, seals, or nearby connections develop a leak, water may escape inside the wall cavity rather than appearing at the fixture.
Possible warning signs include damp drywall on the opposite side of the shower, peeling paint, staining near the baseboard, a musty smell, or unexplained moisture below an upstairs bathroom.
A valve problem can also cause continuous dripping from the showerhead even when no water is visible behind the wall. In that situation, replacing the cartridge may be enough. If the valve body or piping is leaking, the repair is more involved.
Tub Spouts and Showerheads Can Leak at Their Connections
Not every leak originates inside the valve. Shower arms thread into plumbing behind the wall, and tub spouts may connect through threaded fittings or slip-on connections. A loose fitting, deteriorated seal, or damaged connection can allow water to escape during use.
One clue is that the leak appears only when water is flowing through that particular fixture.
A leaking tub spout also deserves attention if the shower uses a diverter. When the diverter does not seal properly, excessive water may continue flowing from the tub spout after the shower is activated. That is usually a fixture problem rather than a hidden supply leak, but it can reduce shower pressure and waste water.
Drain Assemblies Can Be Mistaken for Supply Leaks
If water appears beneath a tub or shower only while someone is bathing, the drain should be part of the investigation.
Tub drains, shower drains, overflow assemblies, gaskets, and connected piping can all develop leaks. Water may seep around a deteriorated drain seal or escape from a loose fitting below the fixture.
These problems can be difficult to distinguish from a valve or supply-line leak because water often travels along framing or piping before becoming visible.
The timing helps. Water that appears while the fixture is filling but before the drain is used may suggest a supply-side problem. Moisture that begins after water enters the drain points more strongly toward the drainage system.
Failed Caulk or Grout Can Let Water Escape the Shower Area
Sometimes the plumbing itself is working correctly. Cracked caulk around a tub, missing sealant at shower corners, gaps around fixtures, or damaged enclosure seals can allow water to leave the wet area during normal use.
Grout is not intended to serve as the sole waterproof barrier, so recurring moisture behind tile can also indicate a deeper waterproofing issue.
Look for water that appears primarily after spraying certain walls, corners, or the shower door. Drying the area thoroughly and testing one section at a time can sometimes help isolate the source.
Repeated caulking is unlikely to solve a leak caused by damaged waterproofing behind the finished surface.
High Water Pressure Can Make Existing Weak Points Worse
Excessive household water pressure does not automatically create every shower leak, but it can place additional stress on cartridges, seals, supply connections, and other plumbing components.
If several fixtures begin dripping or developing leaks around the same period, the issue may extend beyond a single shower. Pressure problems can also show up as banging pipes, unusually forceful flow, or repeated premature fixture failures.
In those situations, the goal of shower repair should be to identify the underlying plumbing condition rather than repeatedly replacing individual seals.
When a Shower Leak Needs Professional Diagnosis
A simple dripping fixture may be manageable if the failed component is easy to identify and access. Hidden moisture, recurring leaks, damaged valves, wet ceilings, or water appearing inside walls call for a more careful diagnosis.
Professional plumbing repair is especially appropriate when the source cannot be isolated without opening the wall or when several plumbing components could be involved.
The most important step is determining where the water begins escaping. Effective shower repair addresses that source rather than simply treating the stain, drip, or puddle where the water eventually becomes visible.
How to Detect a Shower or Tub Leak Before It Causes More Damage
Not every leak announces itself with a visible drip. Water can escape behind tile, beneath a tub, inside a wall cavity, or around a drain connection long before a puddle appears on the bathroom floor.
The goal of leak detection is not simply to confirm that water is present. It is to narrow down when the leak occurs, where the moisture first appears, and which part of the fixture is most likely responsible. That information can make shower repair faster and reduce unnecessary opening of walls or flooring.
Start With the Visible Signs Around the Fixture
Begin with a careful inspection while the shower or tub is dry. Look around handles, trim plates, the tub spout, shower arm, drain, overflow plate, caulk joints, grout lines, and enclosure edges.
Signs of trouble may include discoloration, peeling caulk, loose trim, mineral deposits, swollen baseboards, soft drywall, or staining on the ceiling below an upstairs bathroom.
A musty odor can also indicate moisture that is not immediately visible. Do not assume the nearest stain identifies the source. Water can follow pipes, framing, or the underside of a surface before dripping somewhere else.
Use the Timing of the Leak to Narrow Down the Source
One of the easiest diagnostic tools is simply observing when the water appears.
If the showerhead continues dripping when the fixture is turned off, the problem is more likely inside the valve or cartridge. Moisture that develops whenever the water is running may point toward a supply connection, shower arm, tub spout, or valve body.
If leakage appears only when water begins flowing down the drain, the drain assembly or connected piping becomes more suspect.
Water that appears after spraying a particular wall, corner, or shower door can indicate a problem with caulk, enclosure seals, tile joints, or waterproofing rather than the pressurized plumbing system.
Testing these conditions separately can help prevent several possible causes from being confused with one another.
Check the Water Meter for a Possible Hidden Plumbing Leak
A water meter can help determine whether water is escaping somewhere in the home’s pressurized plumbing system.
Turn off faucets, appliances, irrigation, toilets, and anything else that normally uses water. Then check the meter. If it continues registering usage while everything is off, a hidden leak may be present.
This test cannot tell you where the leak is located, and a stationary meter does not rule out every shower problem. Drain leaks and water escaping through an enclosure, for example, occur only while the fixture is being used and will not necessarily produce ongoing meter movement.
Still, it can be useful when unexplained moisture is accompanied by a higher water bill or when there are signs of a water-line leak elsewhere in the plumbing system.
Test the Shower in Stages
If the leak only occurs while the shower or tub is being used, test individual components rather than running everything at once.
For a shower, you can direct water toward different areas one at a time. Start with the drain while trying to keep the surrounding walls relatively dry. Then test the enclosure edges, corners, and wall surfaces separately.
For a tub, filling the basin without immediately draining it may help distinguish a drain problem from a leak associated with the tub body, overflow, or supply plumbing. If water appears only once the tub drains, the waste piping deserves closer investigation.
Use caution with any test that could worsen known water damage. If water is already entering a ceiling, electrical area, or concealed wall cavity, further testing may create more damage than useful information.
Watch the Rooms Around and Below the Bathroom
Hidden shower leaks often reveal themselves outside the bathroom first.
Inspect the ceiling below an upstairs shower, the wall behind the valve, adjacent closets, nearby baseboards, and flooring around the tub or shower enclosure.
Possible warning signs include:
- Yellow or brown ceiling stains
- Bubbling or peeling paint
- Soft drywall
- Warped flooring
- Swollen trim or baseboards
- Persistent dampness
- Mold or mildew odors
Changes that become more noticeable immediately after shower use provide an especially useful clue.
When Specialized Leak Detection Is Needed
Visual inspection and controlled testing have limits. Water inside walls, floors, or other inaccessible areas may require professional diagnostic equipment.
Depending on the suspected problem, plumbers may use moisture meters, acoustic equipment, pressure testing, or infrared imaging to narrow down the source. JW Plumbing Pros notes the use of acoustic listening equipment and infrared cameras for certain leak-detection work.
Thermal imaging deserves some clarification. It does not directly “see” water behind a wall. Instead, an infrared camera detects surface temperature differences that may correspond with moisture, evaporative cooling, or leaking hot and cold water lines.
Findings generally need to be interpreted alongside physical inspection and other testing.
Know When to Stop Troubleshooting
Basic observation can help identify whether a leak involves the fixture, drain, enclosure, or hidden plumbing, but homeowners should not feel obligated to locate every failure themselves.
Stop troubleshooting and arrange professional shower repair when water is entering a wall or ceiling, the leak cannot be isolated, plumbing behind the finished surface is involved, or moisture keeps returning after an apparent fix.
Early diagnosis is particularly important with concealed leaks. The longer water travels through drywall, framing, subflooring, or cabinetry, the larger the repair can become. The most useful diagnosis therefore answers two questions: when does the leak occur, and where does the water begin escaping?
How Are Leaky Tub Faucets and Shower Valves Repaired?
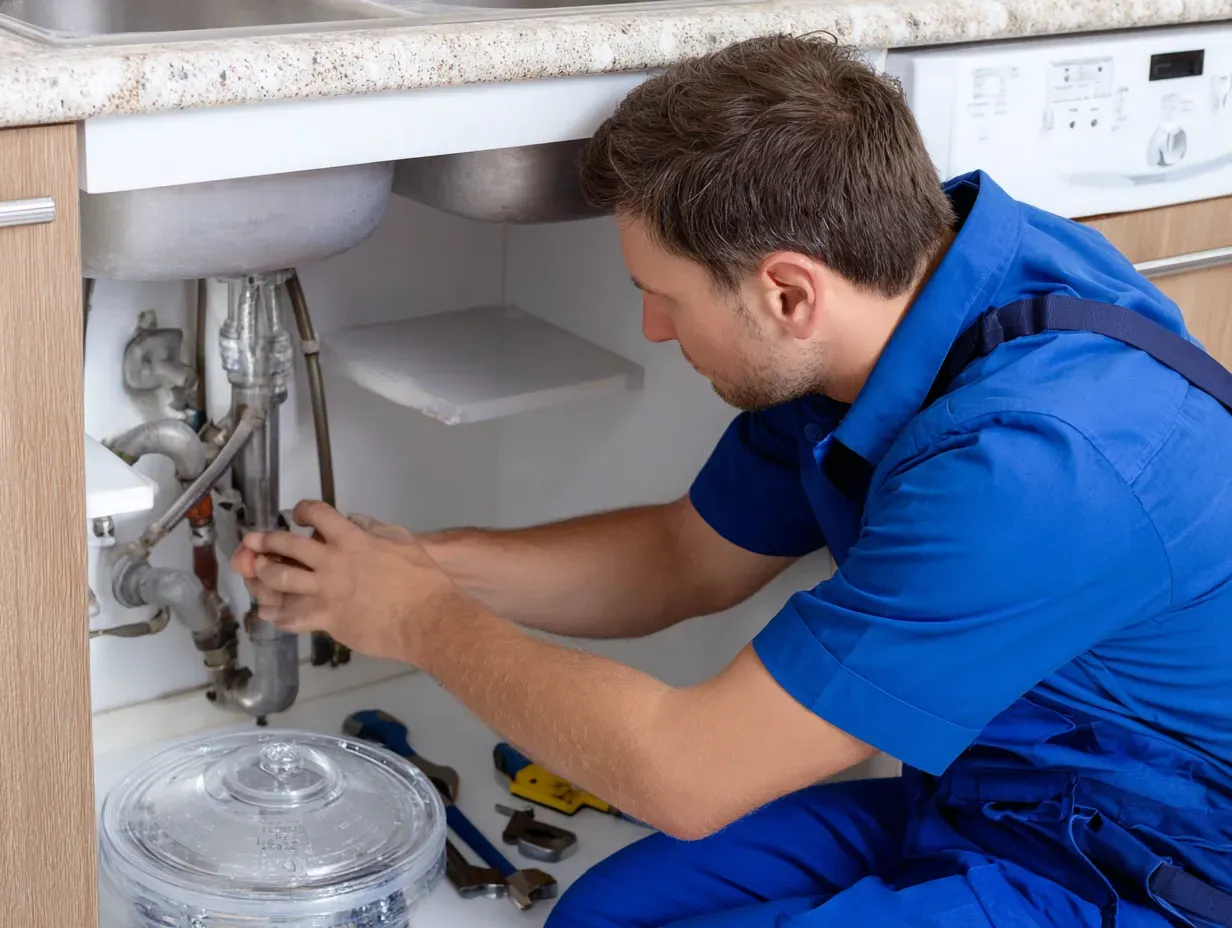
Once the source of a leak has been narrowed down, the next question is whether the problem calls for a small component replacement or a more substantial plumbing repair.
Many dripping tub faucets and showerheads are caused by replaceable internal parts, such as cartridges, washers, O-rings, or seals.
Other problems originate in the valve body or concealed plumbing and require more extensive work. Effective shower repair starts by matching the repair to the failed component rather than replacing parts at random.
How to Repair a Leaky Tub Faucet
A tub faucet that continues dripping after the handle is turned off often has a worn component inside the faucet or valve assembly. The exact repair depends on the fixture design, so identifying the make, model, and valve type before disassembly can save considerable frustration.
For a straightforward fixture repair, the process generally involves:
- Shut Off the Water Supply. Turn off the appropriate shutoff valve or the home’s main water supply before disassembling the fixture.
- Cover the Drain. Small screws and components are easy to drop, so covering the tub drain can prevent parts from disappearing into the plumbing.
- Remove the Handle and Trim. Depending on the fixture, this may require removing a decorative cap, screw, handle, and trim plate to reach the working components.
- Inspect the Cartridge, Washer, or Seals. Look for worn rubber, mineral buildup, corrosion, cracks, or other visible damage.
- Replace the Correct Component. Replacement parts should match the existing fixture. Cartridges that look similar are not necessarily interchangeable.
- Reassemble and Test the Faucet. Restore the water slowly and check the fixture both while running and after it has been shut off.
Avoid overtightening components during reassembly. Excessive force can damage seals, threads, or the fixture itself and create a new leak.
Know When a Cartridge Replacement Is Enough
A leaking shower does not automatically mean the entire valve needs to be replaced.
The cartridge is the removable component inside many modern shower valves that controls water flow and temperature. As cartridges age, seals can wear or mineral deposits can interfere with proper operation.
A failing cartridge may cause:
- Persistent dripping from the showerhead
- Difficulty shutting the water off completely
- A handle that feels stiff or inconsistent
- Problems controlling water temperature
- Water leaking around the handle
If the valve body itself remains sound, replacing the cartridge may restore normal operation without opening the wall or replacing the complete assembly.
Cartridges can become difficult to remove after years of mineral buildup, however. Forcing a seized component can damage the surrounding valve, turning a relatively simple shower repair into a larger project.
When Does the Entire Shower Valve Need Replacement?
Full valve replacement becomes more appropriate when the problem extends beyond the removable cartridge or seals.
A plumber may recommend replacing the valve if the body is cracked, severely corroded, leaking at connections behind the wall, or no longer compatible with available replacement parts. An older valve may also be replaced during a bathroom renovation when access is already available and the homeowner wants to update the fixture.
Persistent leaking after a correctly installed cartridge has been replaced is another sign that the problem may lie deeper in the valve assembly.
Because the valve sits inside the wall, replacement can involve removing an access panel or opening part of the finished surface. The new valve must then be securely connected to the hot and cold supply lines and tested before the wall is closed.
Tub Spout Problems May Require a Different Repair
Water coming from the tub spout does not always indicate a valve failure. If water leaks around the base of the spout while the tub is running, the connection between the spout and supply pipe may be loose or damaged. Depending on the fixture, the spout may attach with threads or a slip-on connection secured by a set screw.
A diverter can also fail. In a tub-and-shower combination, the diverter redirects water from the tub spout to the showerhead. If it no longer seals properly, water may continue flowing from the spout while the shower is running. Replacing the spout or diverter may solve that problem without disturbing the shower valve.
Avoid Treating Every Leak as a Fixture Problem
If replacing a washer, cartridge, or spout does not stop the leak, continuing to swap parts can waste time and obscure the real issue.
Water appearing behind the wall, below the tub, around the drain, or on the ceiling underneath the bathroom may indicate a leaking connection, drain assembly, or concealed pipe rather than a faulty faucet.
At that point, further disassembly of the visible fixture is unlikely to help. The repair should shift from component replacement to locating the plumbing failure itself.
When Is DIY Shower Repair Reasonable?
A homeowner who is comfortable working with basic plumbing fixtures may be able to replace an accessible washer, O-ring, showerhead, tub spout, or compatible cartridge.
Professional shower repair is the safer choice when the shutoff does not work, the cartridge is seized, the valve body is damaged, pipes must be cut or soldered, or the leak is occurring behind the wall.
The distinction matters because a minor dripping fixture and a concealed valve leak can look similar from inside the shower.
Starting with the least invasive repair makes sense, but once the evidence points toward hidden plumbing, opening or modifying the valve without confirming the source can make the eventual repair more complicated.
How to Unclog a Shower Drain and Prevent the Clog From Coming Back
A slow shower drain usually develops gradually. Hair catches inside the drain, soap residue sticks to it, and the blockage grows until water begins pooling around your feet. Clearing that buildup early is easier than waiting until the drain stops moving water altogether.
For minor clogs, homeowners can often restore flow with simple mechanical methods. Recurring or completely blocked drains require a different approach because the obstruction may sit deeper in the plumbing system. Knowing the difference helps prevent a basic shower repair from turning into repeated trial and error.
Why Shower Drains Clog So Easily
Hair is the most common starting point for many shower clogs because it can wrap around the drain opening and collect inside the trap. Soap residue, body oils, skin cells, and mineral deposits then stick to that material and make the obstruction denser.
Other causes are less obvious. Small objects can enter the drain, older pipes may accumulate heavy internal buildup, and a clog farther downstream can slow more than one fixture.
The pattern of the problem offers useful clues. A shower that gradually becomes slower is more consistent with local buildup. A sudden complete blockage may involve a larger obstruction. If several drains begin backing up or gurgling at once, the problem may extend beyond the shower itself.
Remove Accessible Hair Before Using Drain Cleaners
For a typical hair clog, start with the simplest solution.
Remove the drain cover if it is designed to come off easily, then pull out visible hair and debris using a plastic drain tool or similar device. Gloves are useful because the buildup can contain soap residue and organic material.
Once the obstruction is removed, run hot tap water to see whether drainage improves. Avoid pouring boiling water into the shower drain, particularly when the plumbing material is unknown.
This basic mechanical approach is often more useful than pouring substances into the drain because it physically removes the material causing the blockage instead of trying to dissolve it.
Try a Plunger for a Shallow Blockage
A plunger can sometimes loosen a clog positioned near the trap.
Add enough water to cover the rim of the plunger, create a firm seal over the drain, and use several controlled plunging motions. The pressure changes can help break up or reposition accumulated debris.
If the shower has an accessible overflow opening, it may need to be sealed temporarily so the plunger can create sufficient pressure.
Do not continue aggressively if the drain remains completely blocked. A stubborn obstruction may require a drain snake or other equipment rather than greater force.
A Drain Snake Can Reach Deeper Hair Buildup
When the clog is beyond the drain opening, a small hand-operated drain snake may reach material that cannot be pulled out from above.
Feed the cable gradually into the drain rather than forcing it. When resistance is encountered, rotating the cable can help catch or break apart hair and other soft debris. Withdraw the cable slowly and remove anything it brings back.
This technique works best for localized shower clogs. If the cable repeatedly encounters a solid obstruction or cannot move through the line, stop rather than forcing it farther. Excessive pressure can damage fittings or make retrieval difficult.
Be Careful With Chemical Drain Cleaners
Chemical drain cleaners are widely marketed for bathroom clogs, but they should not be the default solution.
Strong acidic or caustic products can generate heat and may damage certain pipes, finishes, seals, or plumbing components when used incorrectly. They can also leave corrosive liquid sitting above a clog, creating an additional hazard for anyone who later needs to open or snake the drain.
Never mix different drain-cleaning products or combine a commercial cleaner with bleach, ammonia, vinegar, or other household chemicals.
If a clog can be removed mechanically, that is generally the more controlled approach.
Baking Soda and Vinegar Have Limited Clog-Clearing Power
Baking soda and vinegar create an obvious fizzing reaction, but that reaction does not make them particularly effective at removing compacted hair.
The mixture may help loosen light residue or freshen a drain, but a dense shower clog usually needs to be physically removed. Relying on repeated baking soda and vinegar treatments can delay the repair while the blockage continues growing.
For hair-heavy shower drains, removing the debris is more dependable than trying to dissolve it.
Recurring Clogs Usually Need More Than a Quick Fix
A drain that clears temporarily and slows again a few days or weeks later may still contain buildup farther inside the pipe.
Recurring clogs, persistent odors, gurgling, or standing water can justify professional drain cleaning services, particularly when basic mechanical cleaning does not restore normal flow.
Professional cleaning can address material that cannot be reached from the drain opening and determine whether another plumbing problem is contributing to the blockage.
This URL has not been used in the previous shower-repair sections, so it also provides a more specific internal destination than repeating the general plumbing-repair page.
Prevent Hair From Building Up Again
Prevention is considerably easier than repeatedly clearing the same drain.
A removable hair catcher can intercept much of the debris before it enters the pipe. Clean it frequently enough that water can continue passing through freely. Periodically removing accumulated hair from beneath the drain cover can also prevent a small restriction from becoming a full blockage.
Pay attention to changes in drainage speed as well. A shower that takes progressively longer to empty is giving you an early warning.
If the drain remains slow after accessible debris has been removed, or if multiple fixtures begin draining poorly at the same time, the problem has likely moved beyond routine shower repair. At that point, identifying the location and extent of the blockage is more useful than repeatedly treating the shower drain from above.
What to Do During a Shower or Tub Plumbing Emergency
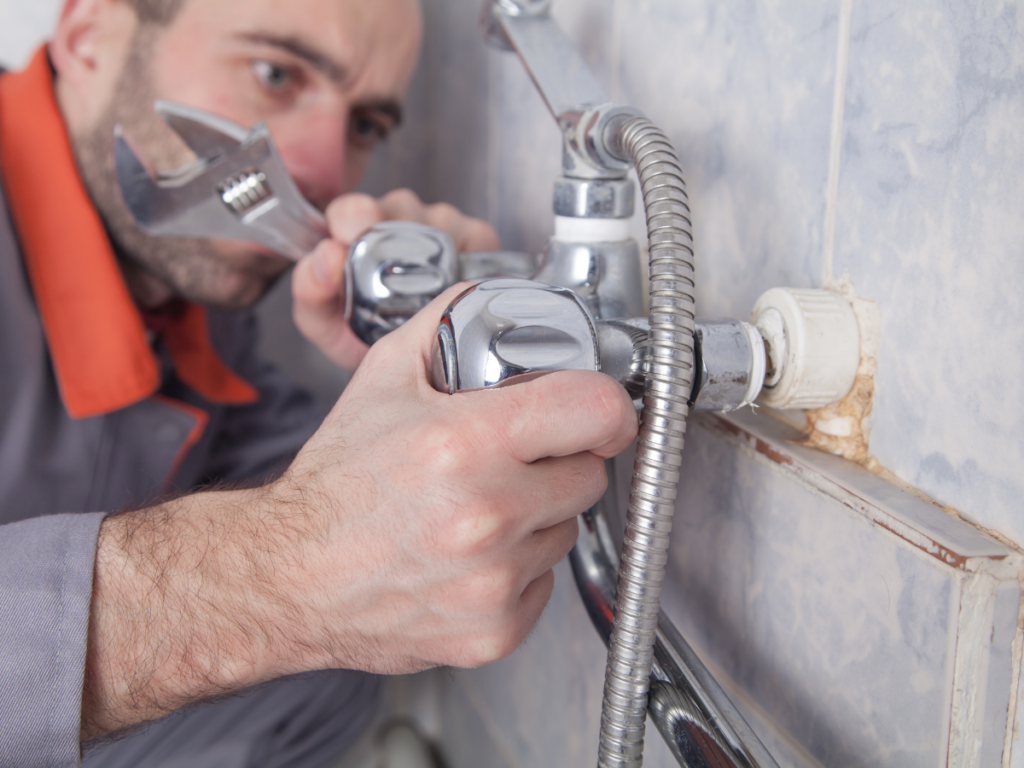
A sudden bathroom leak can damage flooring, drywall, cabinetry, and rooms below long before the underlying plumbing problem is repaired. In an emergency, the first priority is not diagnosing every component. It is stopping or containing the water.
The right response depends on whether water is actively escaping from a pressurized pipe, leaking only when the shower is used, or backing up through a clogged drain. Knowing what to do during those first few minutes can limit damage while a permanent shower repair is arranged.
Shut Off the Water Before Investigating an Active Leak
If water is spraying, flowing behind the wall, or continuing to leak when the fixture is not being used, shut off the water supply as quickly as possible.
Some bathrooms have accessible fixture shutoff valves, although tubs and showers often do not. If the leaking fixture cannot be isolated, use the home’s main water shutoff.
Once the water is off, open a lower-level faucet briefly to relieve pressure remaining in the plumbing system. Then remove standing water with towels, a wet/dry vacuum, or other appropriate equipment.
If water has reached electrical outlets, fixtures, or wiring, avoid the affected area and do not handle electrical equipment while standing on a wet surface.
Stop Using the Shower if the Leak Appears Only During Use
Not every shower leak requires shutting off water to the entire house.
If the bathroom remains dry while the fixture is off but water appears when the shower or tub is running, stop using that fixture until the source can be evaluated. This pattern can occur with drain connections, shower enclosures, tub overflows, concealed valve connections, or waterproofing failures.
Continuing to “test” the shower repeatedly can send more water into walls, ceilings, or subflooring.
If the bathroom is located above another room, inspect the ceiling below. New staining, dripping, bubbling paint, or sagging drywall can indicate that water has already moved beyond the bathroom.
Do Not Rely on Tape as a Permanent Leak Repair
Waterproof tape, pipe-repair tape, or a temporary patch may sometimes slow a small, accessible leak, but these products should not be treated as a dependable repair for a shower valve, tub fixture, concealed connection, or damaged drain assembly.
Surface patches are especially ineffective when water is escaping under pressure or from behind a finished wall.
If a temporary measure reduces the leak, keep the fixture out of service anyway. The failed fitting, seal, pipe, or valve still needs to be repaired rather than covered.
Handle a Sudden Shower Drain Backup Differently
A clogged shower drain is usually not an emergency in the same sense as a burst or actively leaking pipe, but standing water can become a problem if the shower continues to be used.
Stop running water once the drain backs up. If the obstruction is clearly near the drain opening, removing accessible hair or debris may restore flow. A plunger or small hand-operated drain tool can also help with a shallow blockage.
Avoid pouring boiling water into the drain. Very hot water can affect some piping materials and connections, and it is unlikely to solve a dense hair clog.
Chemical drain cleaners also deserve caution, particularly during a severe blockage. If the product cannot move past the clog, corrosive liquid may remain trapped in the pipe. Never combine drain cleaners with bleach, vinegar, ammonia, or other cleaning products.
If more than one fixture is backing up at the same time, the obstruction may be farther down the drainage system rather than confined to the shower.
Protect the Area While Waiting for Permanent Repair
Once the water has been stopped, focus on keeping moisture from spreading. Move rugs, toiletries, storage containers, and other items away from the affected area. Mop or extract standing water promptly and increase ventilation when it is safe to do so.
Do not close up wet drywall, flooring, or cabinetry simply because the visible leak has stopped. Materials that remain damp can continue deteriorating even after the plumbing problem is contained.
Take photographs of visible damage before cleanup if the incident may involve an insurance claim.
Know Which Situations Need Urgent Plumbing Attention
Some problems should move quickly from temporary containment to professional shower repair.
Urgent attention is appropriate when:
- Water cannot be stopped or isolated
- A pipe or valve is leaking inside a wall
- Water is entering a ceiling or another floor
- Drywall begins sagging or deteriorating
- Several drains or fixtures back up simultaneously
- A repair requires opening the wall or modifying concealed piping
- The leak returns immediately after an attempted fixture repair
A dripping faucet can often wait for a scheduled repair once the water is contained. An active concealed leak cannot.
The safest emergency strategy is simple: stop the water, stop using the affected fixture, protect the surrounding area, and avoid temporary fixes that could hide a larger plumbing problem. Permanent shower repair can then address the actual failure rather than just the water that became visible.
How Preventive Maintenance Can Reduce Shower and Tub Repairs
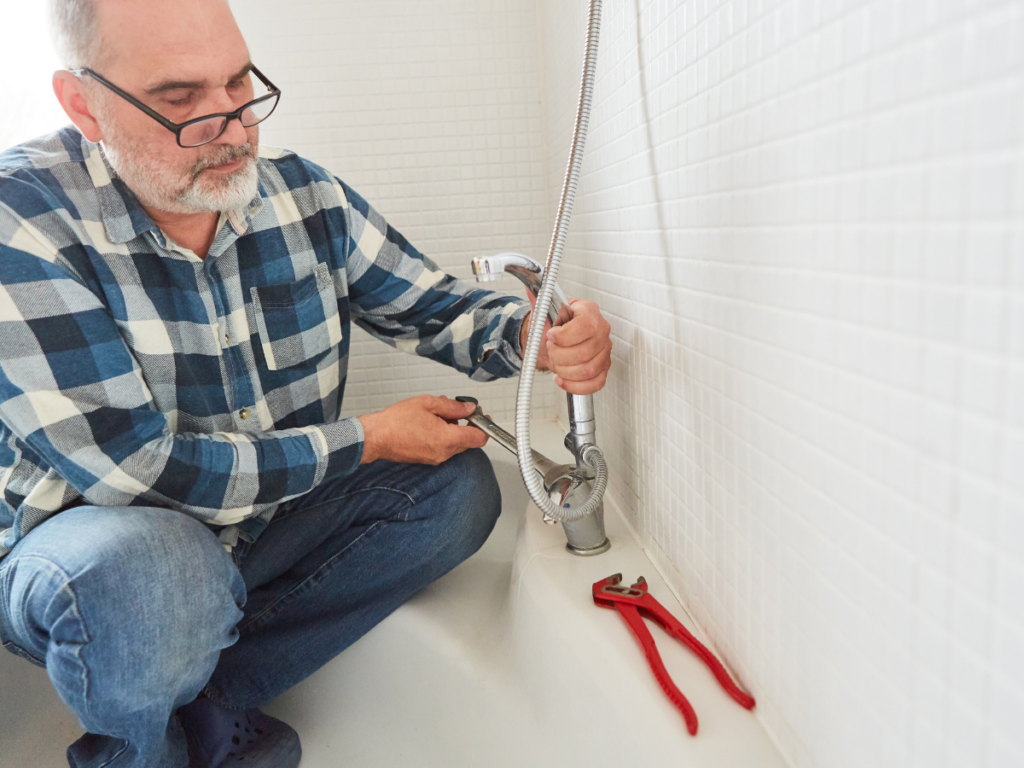
Most shower and tub problems do not begin as major plumbing failures. They usually develop gradually through mineral buildup, worn seals, accumulating hair, loose fittings, or changes in water pressure.
A simple maintenance routine can catch many of these issues before they turn into leaks, stubborn clogs, or damage behind finished surfaces. Preventive care will not eliminate every need for shower repair, but it can reduce avoidable wear and make developing problems easier to spot.
Keep Hair and Debris Out of the Drain
Hair is easier to remove before it enters the plumbing than after it combines with soap residue inside the drain.
A removable drain screen or hair catcher can intercept much of this material before it reaches the trap. Clean the screen regularly rather than waiting until water begins pooling around it.
Watch the drainage speed as well. A shower that slowly takes longer to empty is often easier to address than one that has become completely blocked. Removing accessible buildup at the first sign of slowing can reduce the need for more aggressive drain cleaning later.
Avoid using strong chemical drain cleaners as routine maintenance. They are unnecessary when a drain is flowing normally and may expose pipes, seals, and finishes to harsh chemicals without solving an actual blockage.
Inspect Caulk, Grout, and Fixture Seals
The plumbing inside the wall is only part of the system that keeps water contained.
Check caulk around tubs, shower corners, trim plates, glass enclosures, and other transitions where water could escape. Cracked, separated, or missing caulk should be addressed before repeated shower use allows moisture into surrounding materials.
Grout also deserves attention, particularly if sections are cracked or deteriorating. Grout itself is not the primary waterproofing layer behind a tiled shower, so recurring moisture or repeatedly failing joints can indicate a deeper problem that surface repairs alone will not solve.
Look for early changes around fixtures while you are inspecting the area. Mineral deposits, staining, loose handles, or moisture around trim can provide early warning that a seal or connection is beginning to fail.
Pay Attention to Small Changes in Faucet and Valve Performance
A shower valve rarely goes from perfect operation to complete failure overnight.
Changes in handle movement, temperature control, dripping, or shutoff performance can indicate that an internal cartridge or seal is wearing. A tub spout diverter that increasingly allows water to escape while the shower is running may also be approaching the end of its useful service life.
Addressing these symptoms early can sometimes limit shower repair to a replaceable component rather than waiting until leakage becomes more severe.
Do not repeatedly force a stiff handle or overtighten a faucet in an attempt to stop a drip. Excessive force can damage internal components and make the eventual repair more complicated.
Monitor Water Pressure Throughout the Home
Water pressure affects more than how strong the shower feels.
Excessive pressure can place unnecessary stress on faucet cartridges, valves, supply connections, appliance hoses, and other plumbing components. Pressure that suddenly becomes weak or inconsistent can also signal a developing plumbing problem.
A single weak shower may have a localized cause such as mineral buildup or a fixture issue. If pressure changes throughout the house, the cause may be farther upstream in the plumbing system.
Repeated fixture failures are another reason to have household pressure evaluated rather than continually replacing individual parts.
Clean Showerheads Without Damaging the Finish
Mineral deposits can gradually restrict openings in a showerhead and change the spray pattern.
Remove surface buildup using cleaning methods recommended for the fixture finish. Some finishes can be damaged by prolonged exposure to acidic cleaners, abrasive pads, or harsh chemicals, so manufacturer instructions should take priority over generic cleaning advice.
If mineral buildup repeatedly returns throughout the bathroom, hard water may be contributing to scale formation in more than the showerhead.
Cleaning visible deposits will restore individual fixtures, but recurring scale across faucets and plumbing equipment may warrant looking at overall water quality.
Check Below and Around the Bathroom Periodically
Hidden leaks are easier to manage when they are discovered early.
Occasionally inspect the ceiling beneath an upstairs bathroom, the wall behind the shower when accessible, flooring near the tub, and nearby baseboards. New discoloration, swelling, peeling paint, or musty odors deserve investigation even if the shower itself appears normal.
A small amount of moisture reaching these areas can signal a leaking drain connection, valve, supply fitting, enclosure, or waterproofing system.
Do Not Replace Working Fixtures Solely for Preventive Reasons
Preventive maintenance does not mean replacing cartridges, valves, or faucets on a rigid schedule.
Fixture lifespan varies according to water quality, usage, product design, installation, and household pressure. Components are better evaluated based on condition and performance than on an arbitrary replacement interval.
A fixture that operates smoothly, shuts off completely, and shows no signs of leakage usually does not need to be dismantled simply because it has reached a certain age.
Build Maintenance Around Early Warning Signs
The most useful maintenance routine is not complicated. Keep hair out of the drain, monitor changes in drainage and water pressure, inspect seals and surrounding surfaces, and address persistent dripping rather than ignoring it.
These habits will not prevent every plumbing problem, but they can make deterioration visible sooner. In many cases, catching a worn component early means shower repair remains a localized fixture issue instead of becoming a hidden leak, damaged wall, or recurring drainage problem.
How to Choose a Reliable Plumber for Shower and Tub Repairs
Choosing a plumber for a dripping faucet is relatively straightforward. Choosing one for water leaking behind a shower wall, a failing valve, or a recurring drain problem requires more scrutiny.
The goal is not simply to find someone who offers shower repair. Homeowners should look for a plumber who can identify the actual source of the problem, explain what needs to be repaired, and distinguish between a small component failure and a larger plumbing issue.
A good estimate should leave you understanding what is wrong and what the proposed work will accomplish.
Make Sure the Plumber Handles the Specific Problem
“Bathroom plumbing” covers a wide range of repairs.
A plumber may need to work on cartridges, shower valves, tub spouts, drain assemblies, concealed supply lines, or damaged connections behind the wall. If the source of the leak is uncertain, diagnostic experience becomes especially important.
When contacting a plumbing company, describe the symptoms rather than trying to diagnose the problem yourself. Useful details include:
- Whether the leak occurs when the fixture is off
- Whether water appears only during shower use
- Whether the drain is slow or completely blocked
- Whether moisture is visible in another room or ceiling
- Whether previous repairs have already been attempted
Those details can help the plumber determine what type of inspection or equipment may be needed.
Verify Licensing and Insurance
Before allowing someone to open walls, modify water lines, or replace concealed plumbing components, verify that the contractor meets applicable state and local licensing requirements.
Insurance matters as well. Plumbing repairs can involve pressurized water lines, finished surfaces, and concealed areas of the home, so homeowners should understand what protection is in place if accidental property damage occurs.
Do not rely solely on a company’s website description. Licensing information can usually be checked through the relevant state or local authority.
Ask What the Estimate Actually Includes
A low headline price is difficult to compare if the scope is unclear. For shower repair, an estimate should identify the problem being addressed and explain what labor, parts, access work, and testing are included.
If a wall must be opened to replace a valve, ask whether closing or refinishing that wall is included or handled separately.
Other useful questions include:
- Is the price for diagnosis only or for the complete repair?
- Are replacement parts included?
- Will additional work require approval before proceeding?
- Is cleanup included?
- What happens if a second problem is discovered after access is opened?
These questions make it easier to compare estimates based on actual scope instead of price alone.
Look for Diagnosis Before Replacement
Be cautious when a contractor recommends replacing a major component before establishing why it failed.
A dripping showerhead may need a cartridge rather than a complete valve. A tub that leaks during draining may have a drain or overflow problem rather than a supply-line failure. Recurring standing water could indicate a local hair clog, deeper drain obstruction, or another drainage issue.
The repair should follow the evidence.
A plumber should be able to explain why a cartridge, valve, drain assembly, pipe section, or other component needs attention and why a less invasive repair would or would not be appropriate.
Ask About Parts and Repair Options
Not every plumbing repair has only one reasonable solution.
For an older fixture, homeowners may need to choose between replacing a worn component and replacing the complete valve or faucet assembly. Compatibility, part availability, condition of the existing valve body, and access can all influence that decision.
Ask what parts will be installed and whether there are meaningful differences between the available options.
The least expensive repair is not always the lowest-cost choice if the surrounding components are already deteriorating. At the same time, a complete replacement should not be recommended automatically when a smaller repair would solve the problem reliably.
Understand the Workmanship Warranty
Ask what portion of the repair is covered if the same problem returns. There may be separate warranty terms for labor and manufacturer-supplied components. A clear warranty should explain what is covered, how long coverage lasts, and what circumstances could void it.
Do not assume that phrases such as “guaranteed work” automatically mean every future leak involving the fixture will be repaired at no cost.
Use Reviews to Look for Patterns, Not Just Star Ratings
Online reviews are more useful when read for recurring themes. Look for comments about whether plumbers arrived when expected, explained repairs clearly, respected quoted pricing, cleaned the work area, and handled problems that appeared after the initial diagnosis.
A few negative reviews do not necessarily disqualify a company. More important is whether the same complaint appears repeatedly and how the business responds when something goes wrong.
Watch for Common Red Flags
Certain practices deserve extra caution:
- Pressure to approve major work immediately without explanation
- Vague estimates with little detail about the repair
- Unwillingness to discuss licensing or insurance
- Recommending replacement without first diagnosing the failure
- Large unexpected price changes without authorization
- Requests for full payment before substantial work begins
- No clear explanation of warranty terms
Complex plumbing problems can uncover additional work once walls or fixtures are opened, so an estimate cannot always predict every condition. The important distinction is whether changes are explained and approved rather than simply added to the final bill.
Choose Based on the Repair, Not Just Response Time
Fast service matters when water is actively damaging the home, but speed alone does not guarantee a good repair.
For non-emergency shower repair, give greater weight to diagnosis, communication, relevant plumbing experience, clear pricing, and the proposed solution. A repair that addresses the actual source of the leak or blockage is more valuable than the fastest appointment followed by repeated service calls.
The best plumber should leave you understanding what failed, why the recommended repair makes sense, what the work includes, and what to expect afterward.
Frequently Asked Questions About Shower and Tub Leak and Clog Repairs
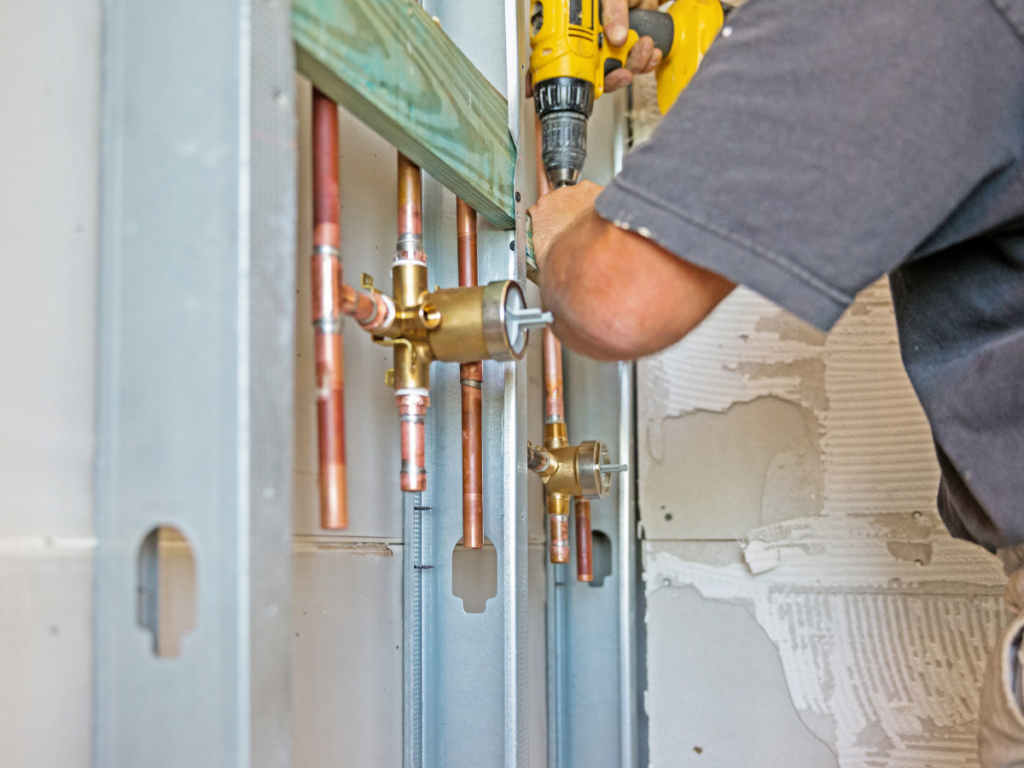
Shower and tub problems often raise practical questions about cost, DIY safety, repair timing, and whether a small symptom points to a larger plumbing issue. The answers depend heavily on where the problem originates and how accessible the damaged component is.
How Much Does Professional Shower or Tub Leak Repair Cost?
There is no single reliable price range for shower repair because the scope can vary significantly.
A simple cartridge, washer, seal, or tub-spout replacement is usually less involved than repairing a concealed valve, opening a wall, replacing damaged piping, or correcting a leaking drain assembly below the tub.
Several factors can affect the final cost:
- The failed component
- Whether the leak is visible or concealed
- How easily the plumbing can be accessed
- The cost and availability of replacement parts
- Whether finished walls or ceilings must be opened
- Whether water damage has affected surrounding materials
- Local labor rates
Homeowners should ask for an estimate that separates diagnosis, parts, labor, and any access work rather than comparing prices based only on a single total.
If the source of the leak has not yet been confirmed, an initial diagnostic visit may be necessary before an accurate repair price can be given.
Can Homeowners Unclog a Shower Drain Themselves?
Yes, many shallow shower clogs can be handled safely without professional help. Removing visible hair from beneath the drain cover is often the best first step. A plastic drain tool, plunger, or small hand-operated snake may also help with a localized blockage.
Stop if the obstruction cannot be reached easily, the snake repeatedly encounters solid resistance, or more than one fixture begins draining slowly. Those signs can indicate a deeper blockage that routine DIY methods will not address.
Avoid treating chemical drain cleaners as the automatic next step. Strong products may create additional hazards if they remain trapped above a clog, and mixing different cleaners can produce dangerous reactions.
How Do You Know Whether a Shower Leak Is a DIY Repair?
A small, accessible fixture problem may be reasonable for a homeowner who is comfortable with basic plumbing work.
Examples include replacing a showerhead, tub spout, visible washer, O-ring, or compatible cartridge when the correct replacement part is known.
Professional shower repair becomes more appropriate when:
- Water is leaking behind a wall or ceiling
- The shower valve body appears damaged
- Pipes must be cut or modified
- The cartridge is seized
- The main water shutoff does not operate properly
- The source of the leak remains uncertain
- An attempted repair has made the problem worse
The more concealed the plumbing, the greater the risk of causing additional damage through trial-and-error repairs.
Is a Dripping Showerhead Always Caused by the Showerhead?
No. A showerhead that continues dripping after the water is turned off often points to a problem farther upstream, such as a worn cartridge, seal, or valve component.
Replacing the showerhead itself may not correct the leak if water is still passing through the closed valve.
A showerhead can develop its own connection leak or mineral buildup, but persistent dripping while the fixture is off should be evaluated as a valve-control problem rather than assumed to be a defective showerhead.
Why Does a Shower Drain Keep Clogging After It Has Been Cleared?
Recurring clogs usually mean the entire obstruction was not removed. Hair and soap buildup can extend deeper into the trap or drain line than a simple surface cleaning reaches. A partial blockage may allow water to flow temporarily before debris accumulates again.
Repeated clogs can also indicate pipe buildup, an obstruction farther downstream, or a broader drainage problem. If several fixtures begin draining slowly or backing up, the issue is less likely to be confined to the shower.
Can a Tub Leak Damage the Ceiling Below?
Yes. Water from a leaking drain, overflow connection, valve, supply fitting, or enclosure can travel through the floor system and eventually appear on the ceiling below.
The stain may not be directly underneath the source because water can follow pipes, framing, and other building materials before becoming visible.
New ceiling discoloration, bubbling paint, softness, or active dripping should be treated as evidence that water has moved beyond the bathroom itself.
Should You Keep Using a Shower That Has a Small Leak?
Usually not until the source is understood. A visible drip from the showerhead is different from water appearing around the wall, floor, or ceiling. Continued use of a fixture with a suspected concealed leak can increase moisture damage even if only a small amount of water is visible inside the bathroom.
If the leak occurs only during use, keeping the shower out of service can limit further damage while the problem is evaluated.
Is It Better to Repair or Replace an Older Shower Valve?
That depends on the condition of the valve, not simply its age. If the valve body is sound and compatible replacement cartridges or seals are available, repairing the existing assembly may be entirely reasonable.
Replacement becomes more practical when the valve is cracked, heavily corroded, leaking at concealed connections, difficult to service because parts are obsolete, or already accessible during a larger renovation.
A complete replacement should solve a specific problem rather than being recommended automatically because the fixture is older.
How Quickly Should a Shower Leak Be Repaired?
A dripping fixture that is contained may allow enough time to schedule a normal service appointment. Water actively entering a wall, ceiling, floor, or cabinet requires faster attention.
The urgency depends less on how dramatic the visible symptom looks and more on where the water is going.
Shower repair should be prioritized when the leak cannot be isolated, concealed materials are getting wet, water pressure remains behind the failure, or moisture continues appearing after the fixture has been turned off.
Conclusion
Shower leaks, stubborn clogs, and slow or backed-up drains can quickly turn an everyday inconvenience into a larger plumbing problem.
Addressing these issues early can help prevent water damage, recurring blockages, and unnecessary strain on your plumbing system. While minor problems may have simple fixes, persistent leaks or drainage issues often require professional diagnosis to identify and correct the underlying cause.
For dependable shower repair and professional plumbing services, choose JW Plumbing Pros. If you’re ready to resolve your shower or drain problems, call 770-635-5159 to speak with the team at JW Plumbing Pros or fill out the online form to request your free quote today.